Rich content is a marketing tool that allows you to add rich media elements such as images and videos to your PDP descriptions.
Rich content boosts the interest of potential customers in your products. You can also use it to highlight certain features or advantages of a product.
Don’t add images without text to rich content. Otherwise, external search engines won’t be able to index the PDP. This will have a bad effect on your search engine ranking. Rich content should describe the product briefly and concisely. Don’t list all the keywords you want to promote the PDP in search. This will ruin the customers' impression and lower the product position in search and categories.
For your convenience, we have prepared a JSON template with different widgets. Widgets contain parameters responsible for presenting rich content and captions. For example, an image is full width with text below it. Or images are staggered, with text on the side. The display of rich content is customizable for both the website and the mobile version.
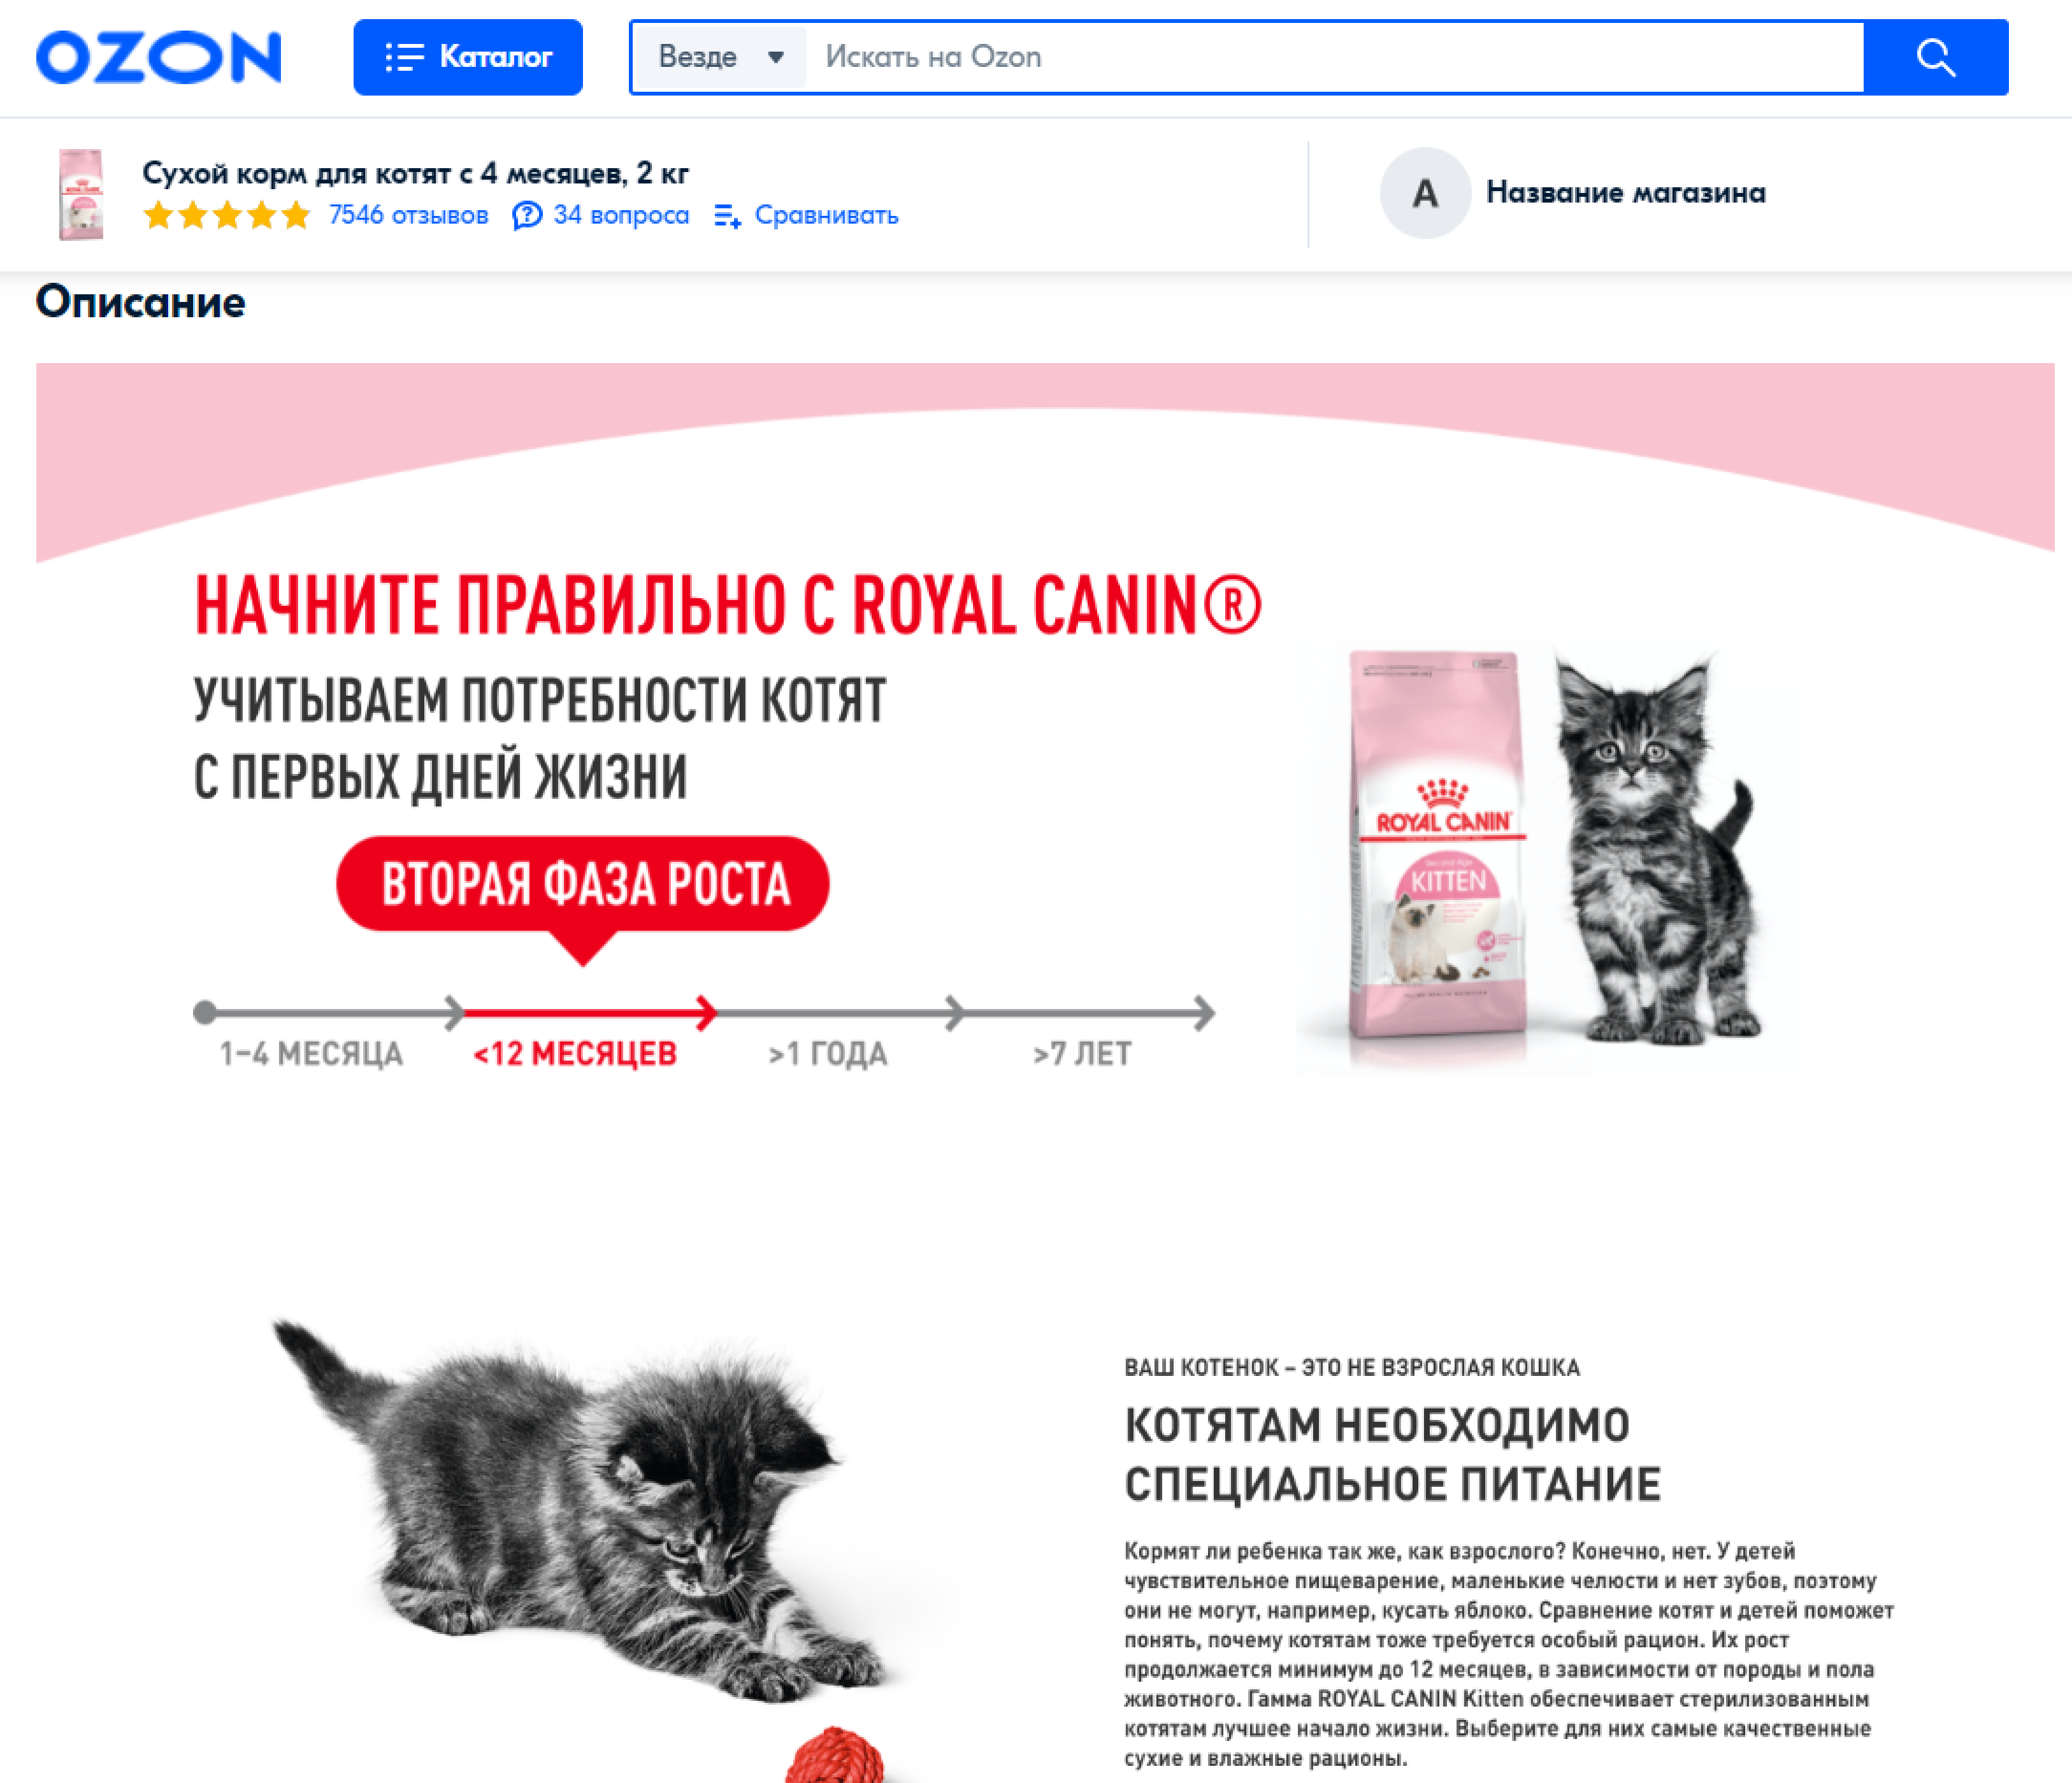
See how the description on the PDP changes if you add rich content:
Advantages of uploading rich content:
- using Ozon styles: if you fill in the template correctly, the product description will be displayed correctly on devices of different types;
- secure, fast content uploading without the use of iframes.
Create rich content #
You can do this in the constructor:
- Via the visual editor: build rich content from ready-made widgets. Customize and adapt blocks to any screen size.
- Via the sandbox: write JSON code and immediately check what you get.
If you already have a piece of JSON code, add it to the PDP.
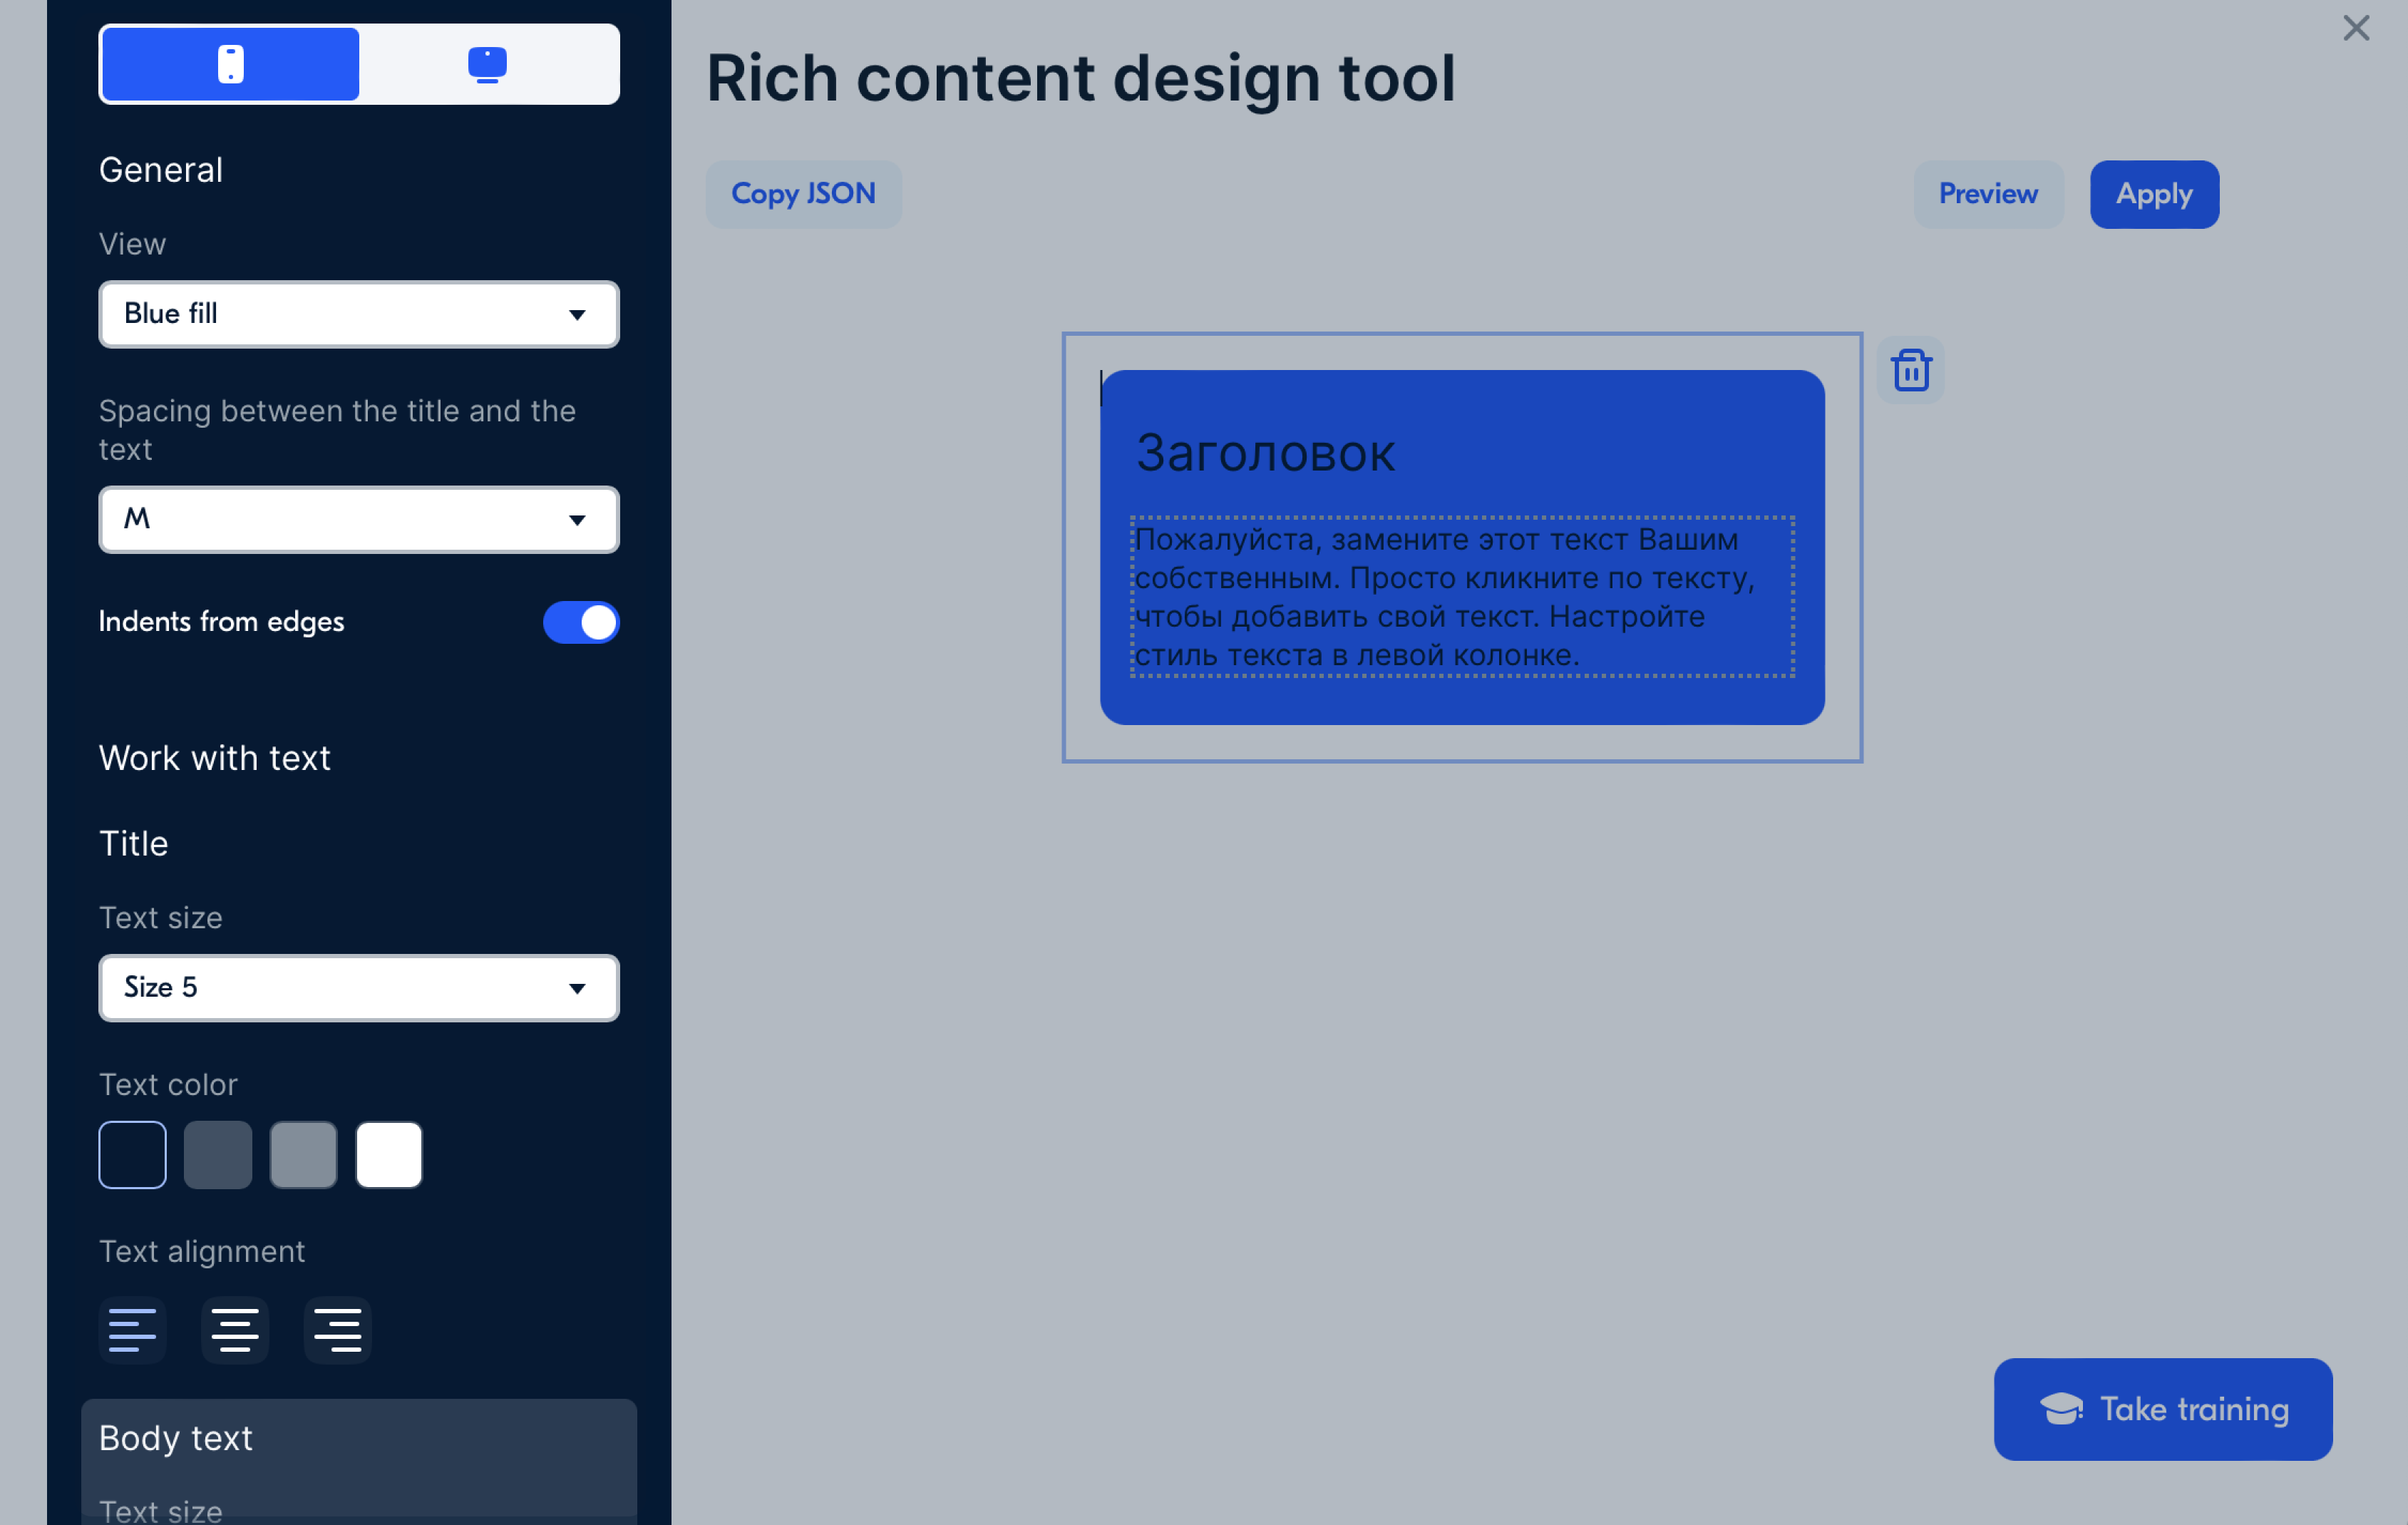
Add rich content in the visual editor #
Create two versions of rich content display: desktop and mobile.
You can open the constructor on the separate site or in your personal account.
To open the constructor in your personal account:
-
Click
 in the row with the necessary product and select Edit Product.
 -
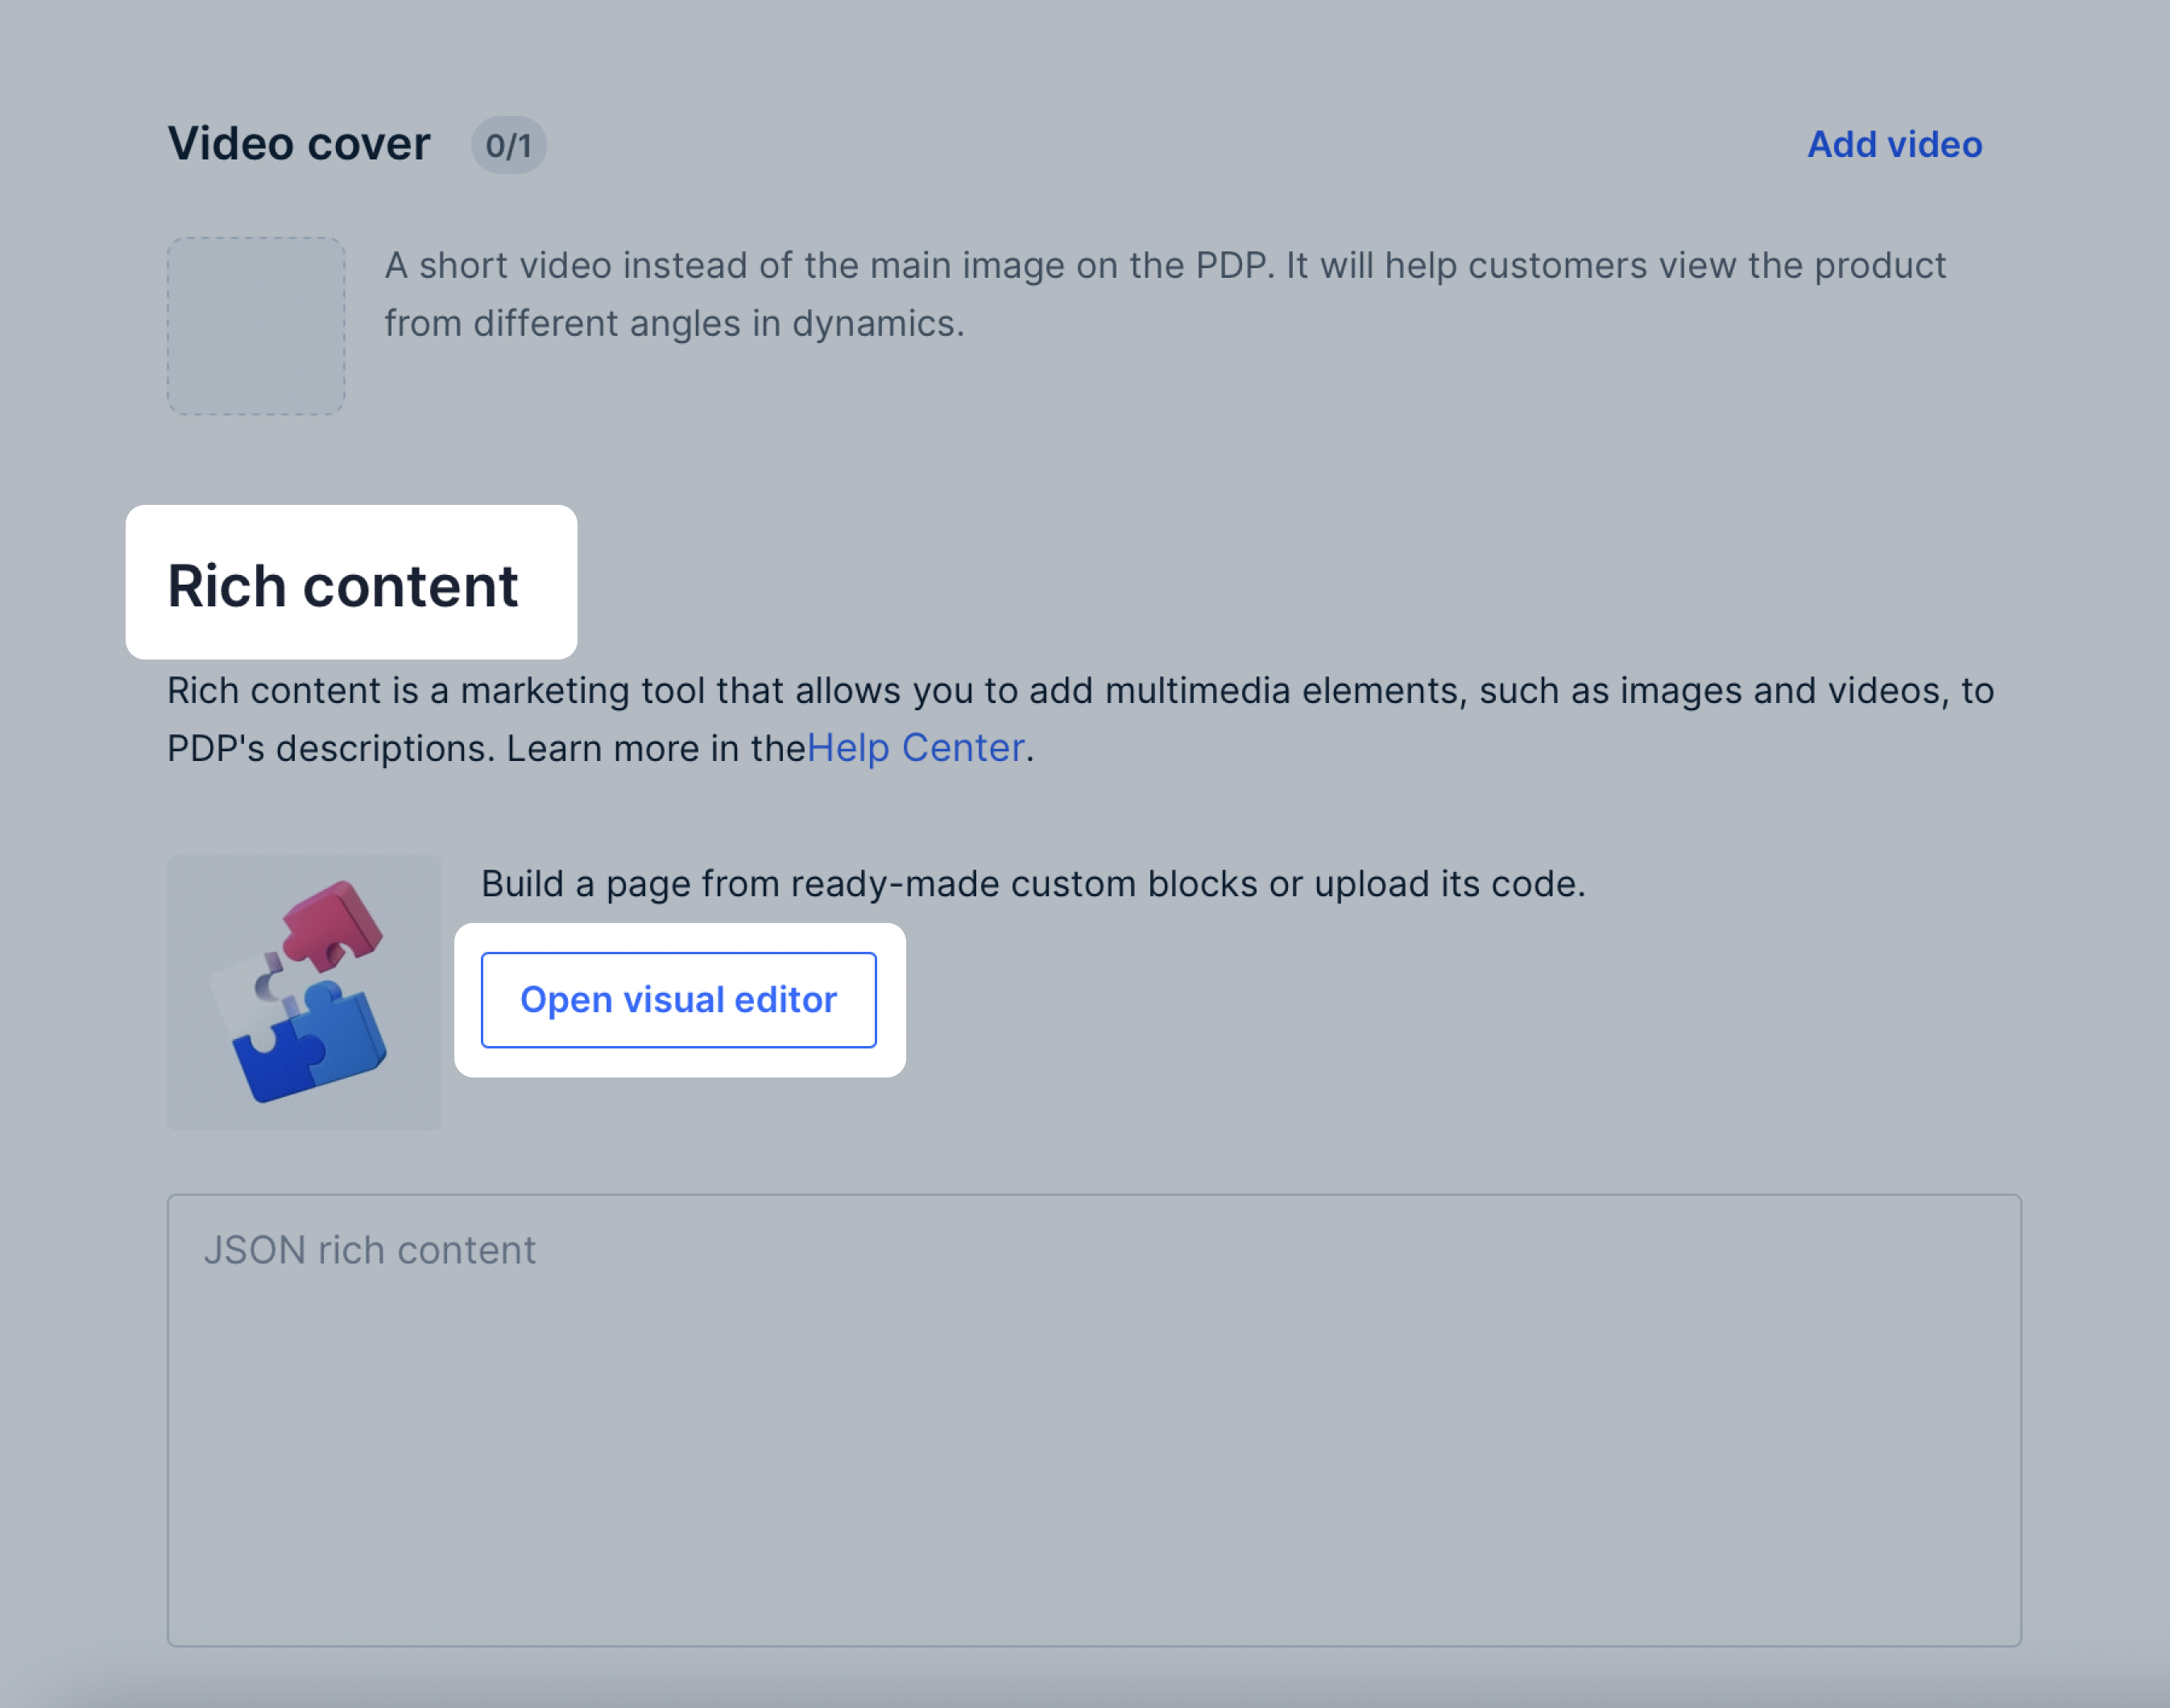
Open the Media tab and in the Rich content block, click Open visual editor.
-
Click Create.
-
Choose the necessary widget from the left panel and drag and drop it into the workspace. You can add multiple blocks. To do this, go back to the previous menu and drag a new block into the free area.
-
Click on the added widget to edit it.
You can:
- Remove the widget. Сlick
 .
. - Move it higher or lower. Сlick

 .
. - Upload an image and video.
- Add text.
- See what the widget will look like. Сlick Preview. You can test the display on your computer and mobile device.
- Remove the widget. Сlick
When everything is ready, add rich content to the PDP.
If you make changes and close the constructor, the system will save the draft. You can continue editing later. When working in your personal account, drafts are saved for each product. On the external site only the latest version is saved.
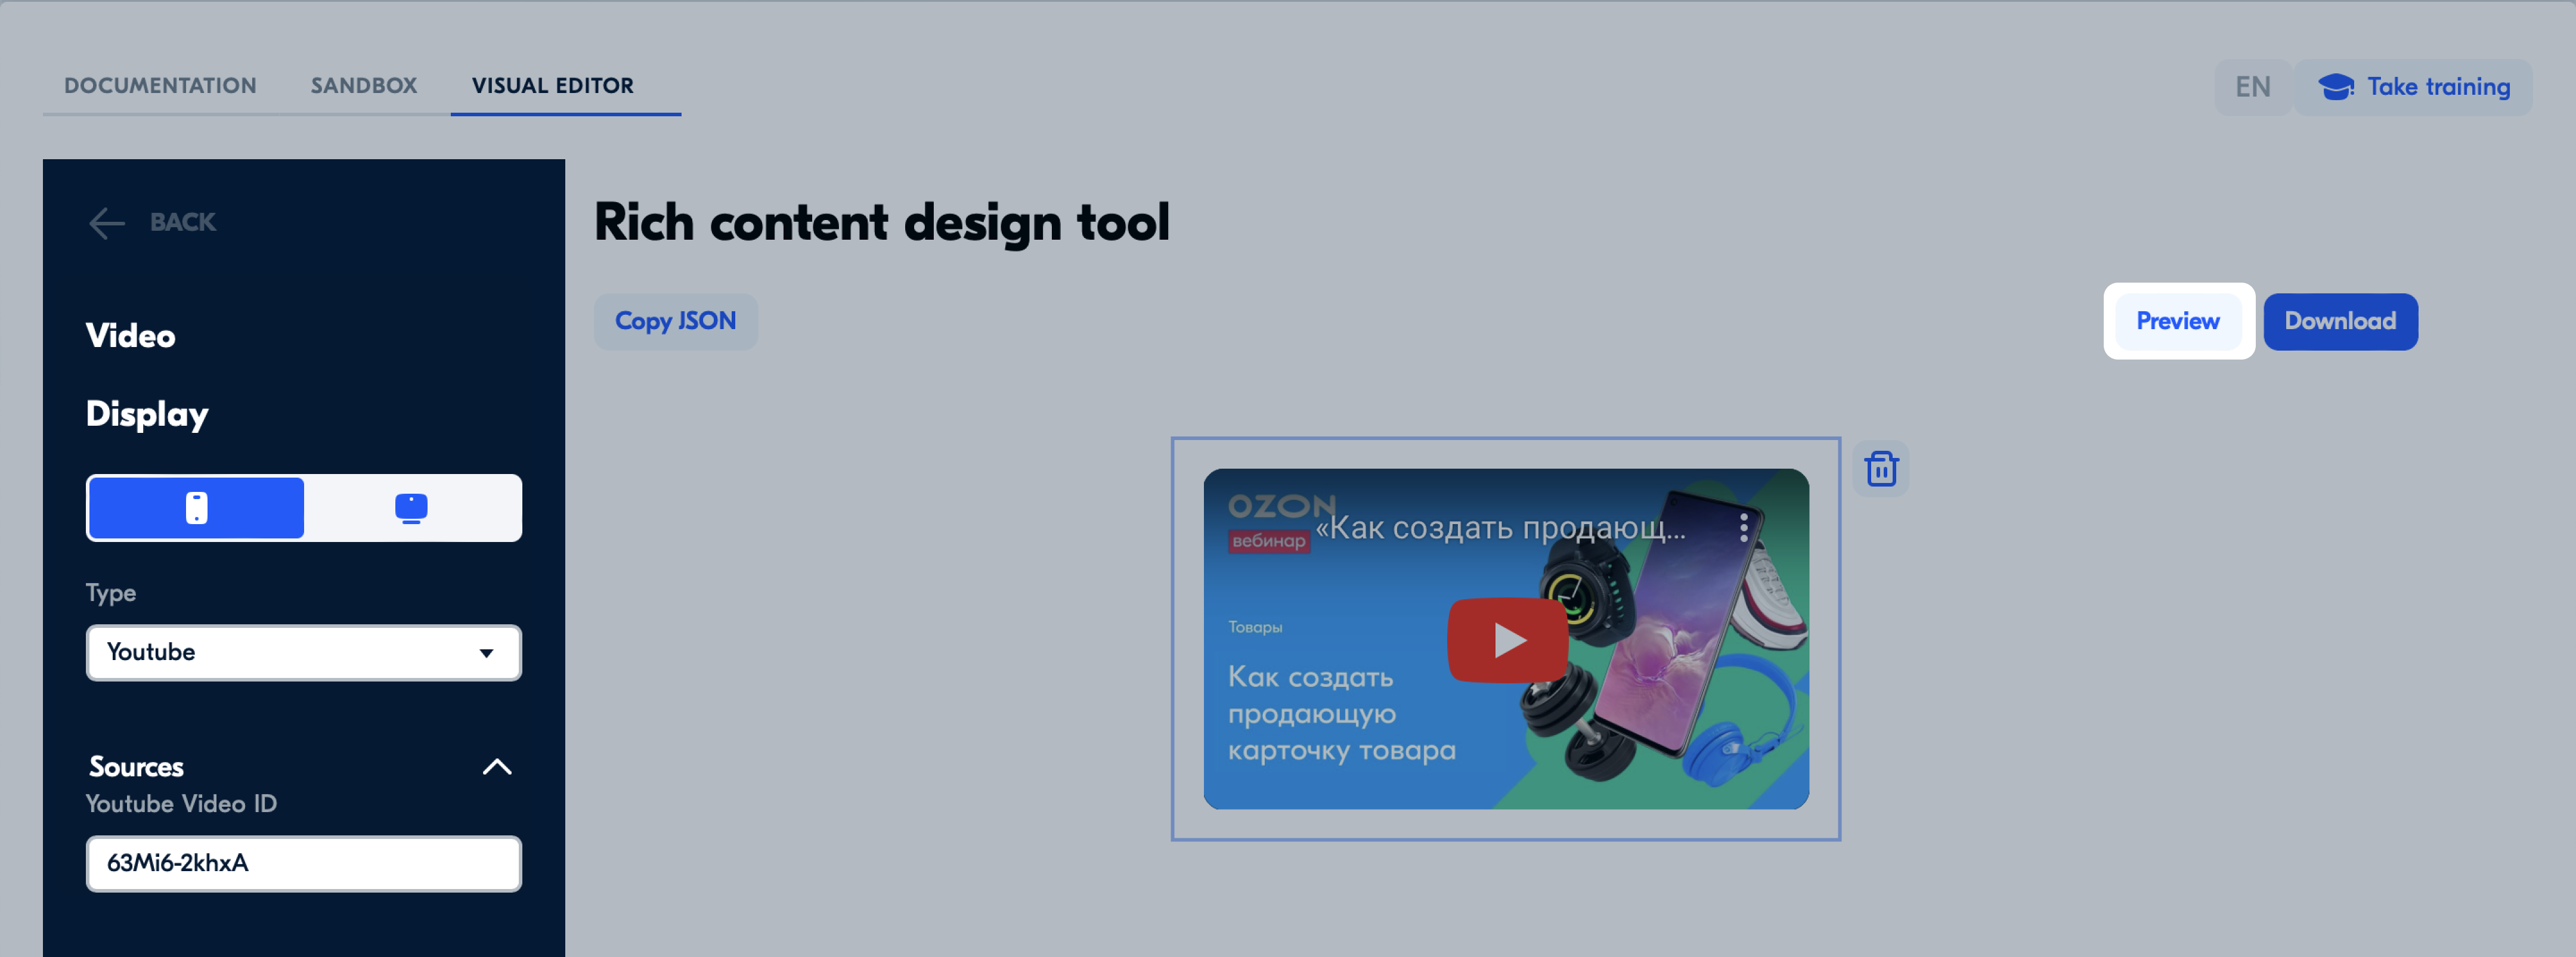
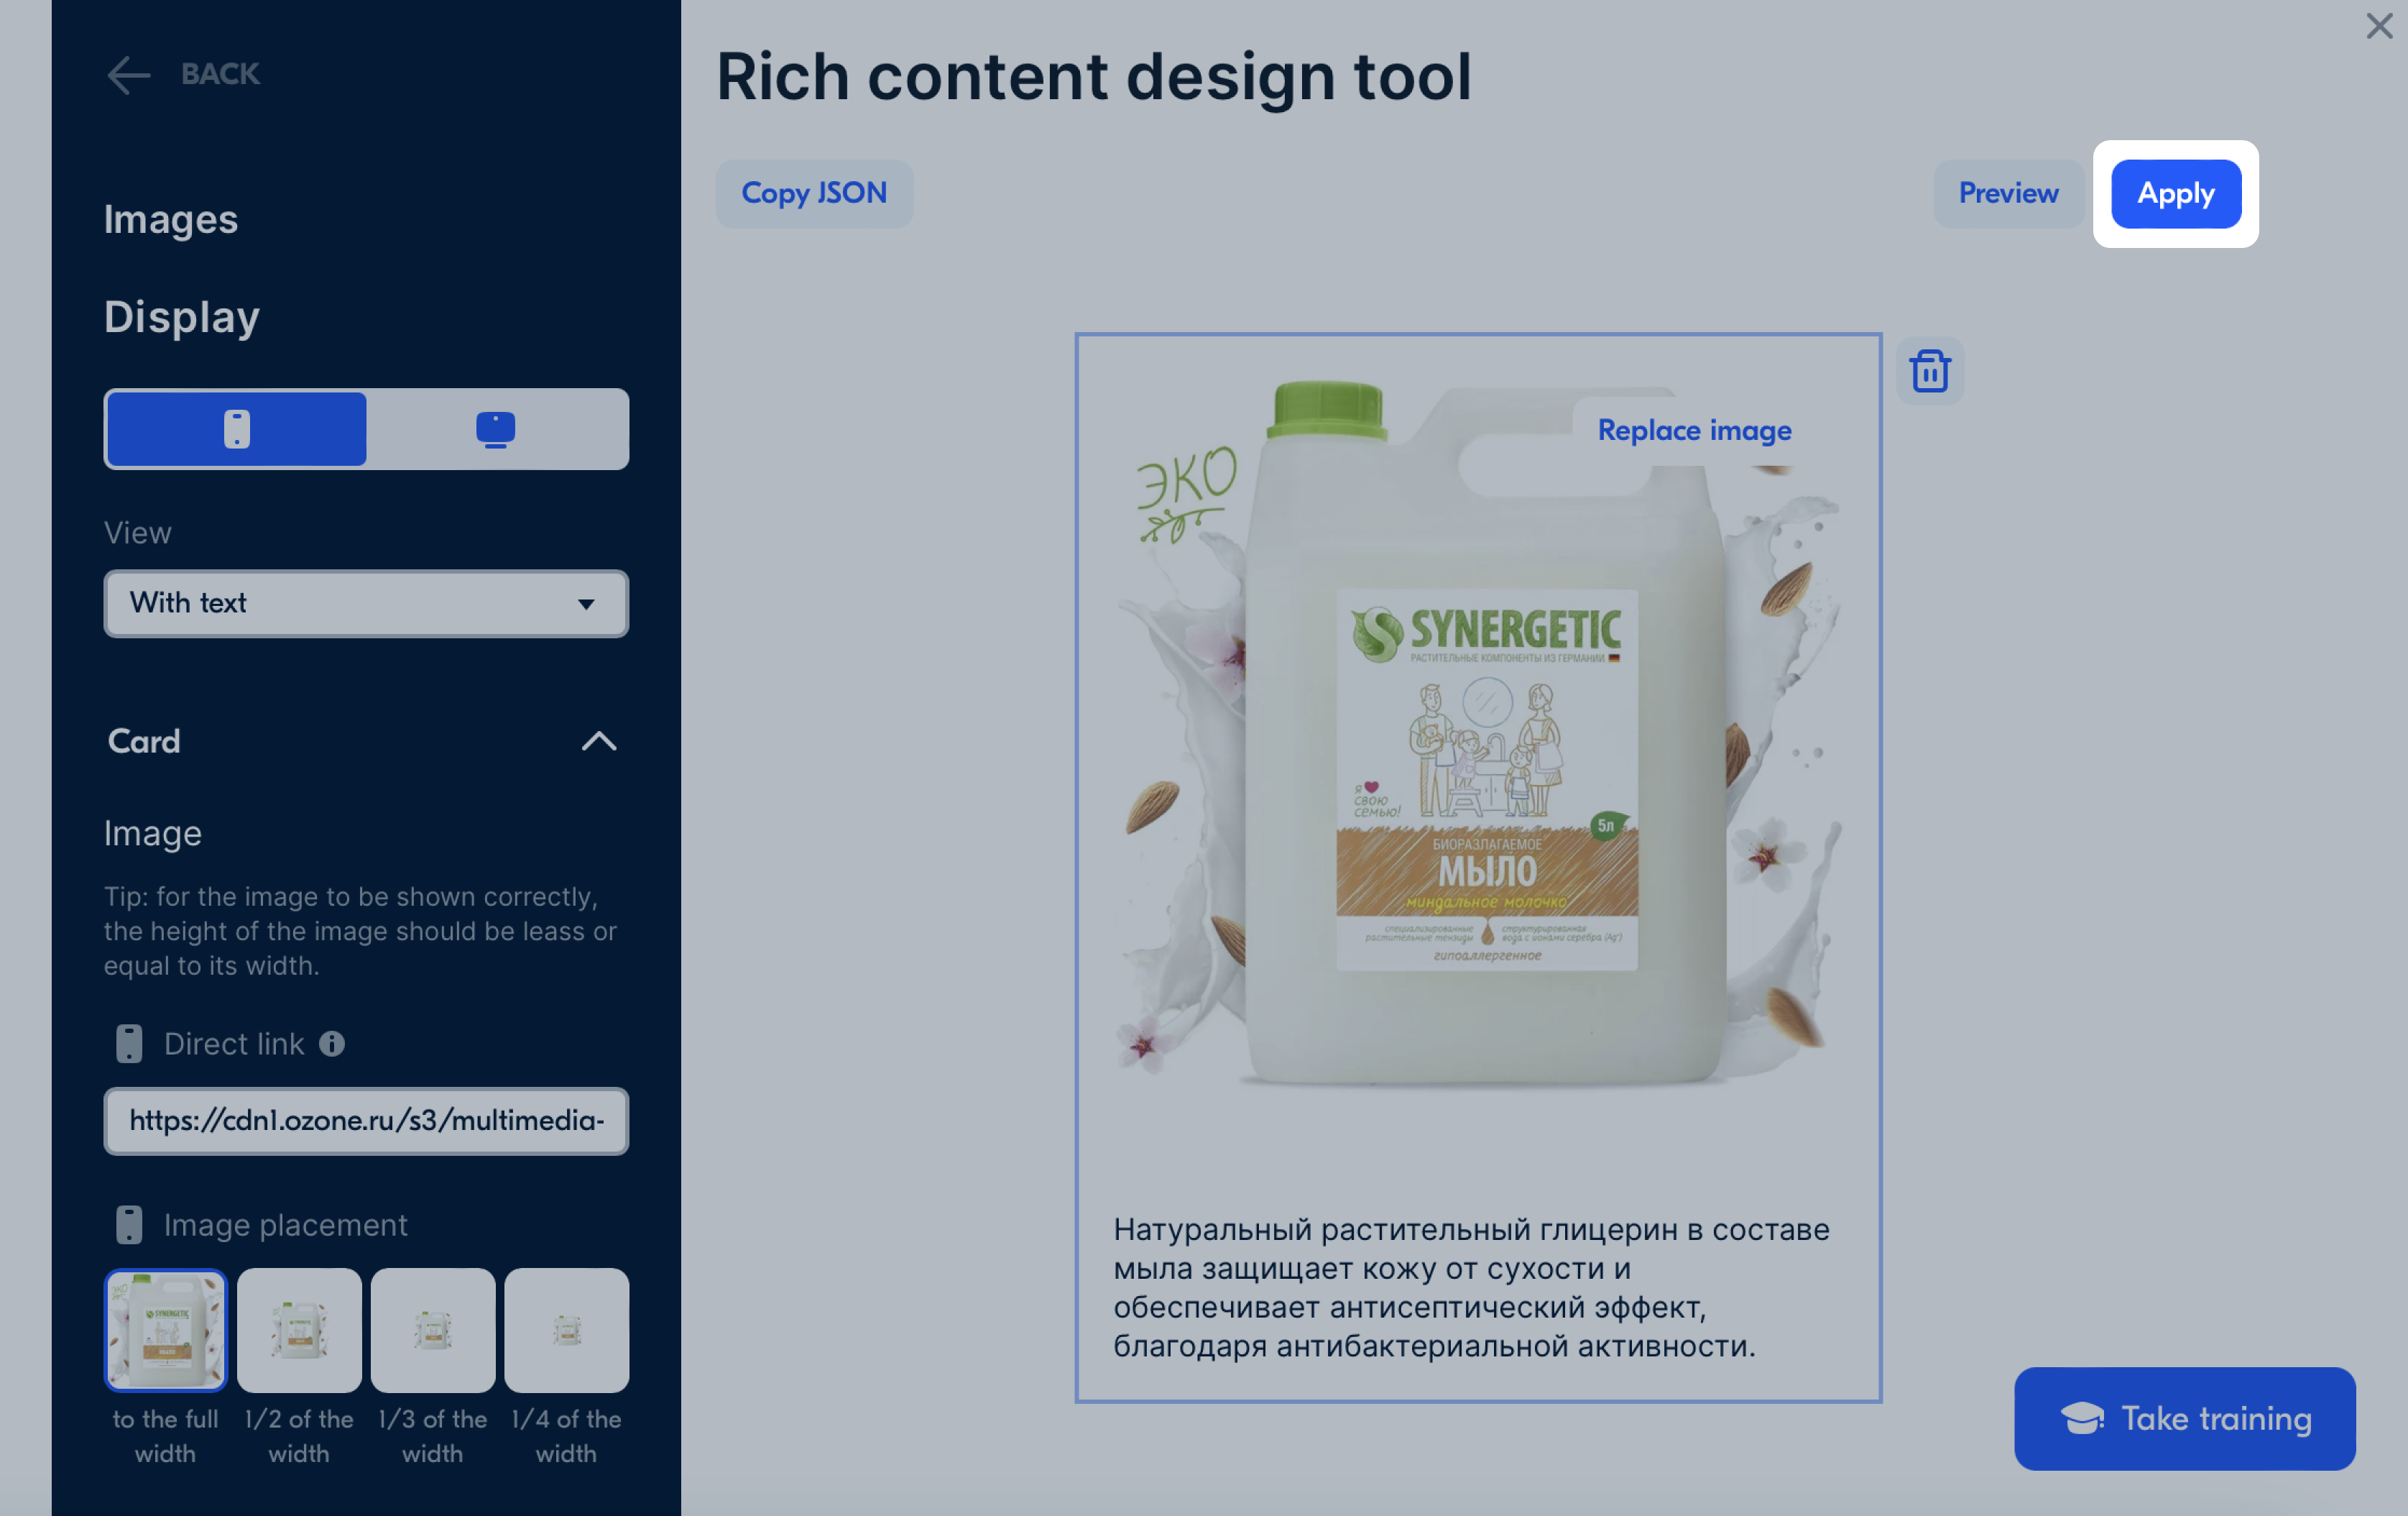
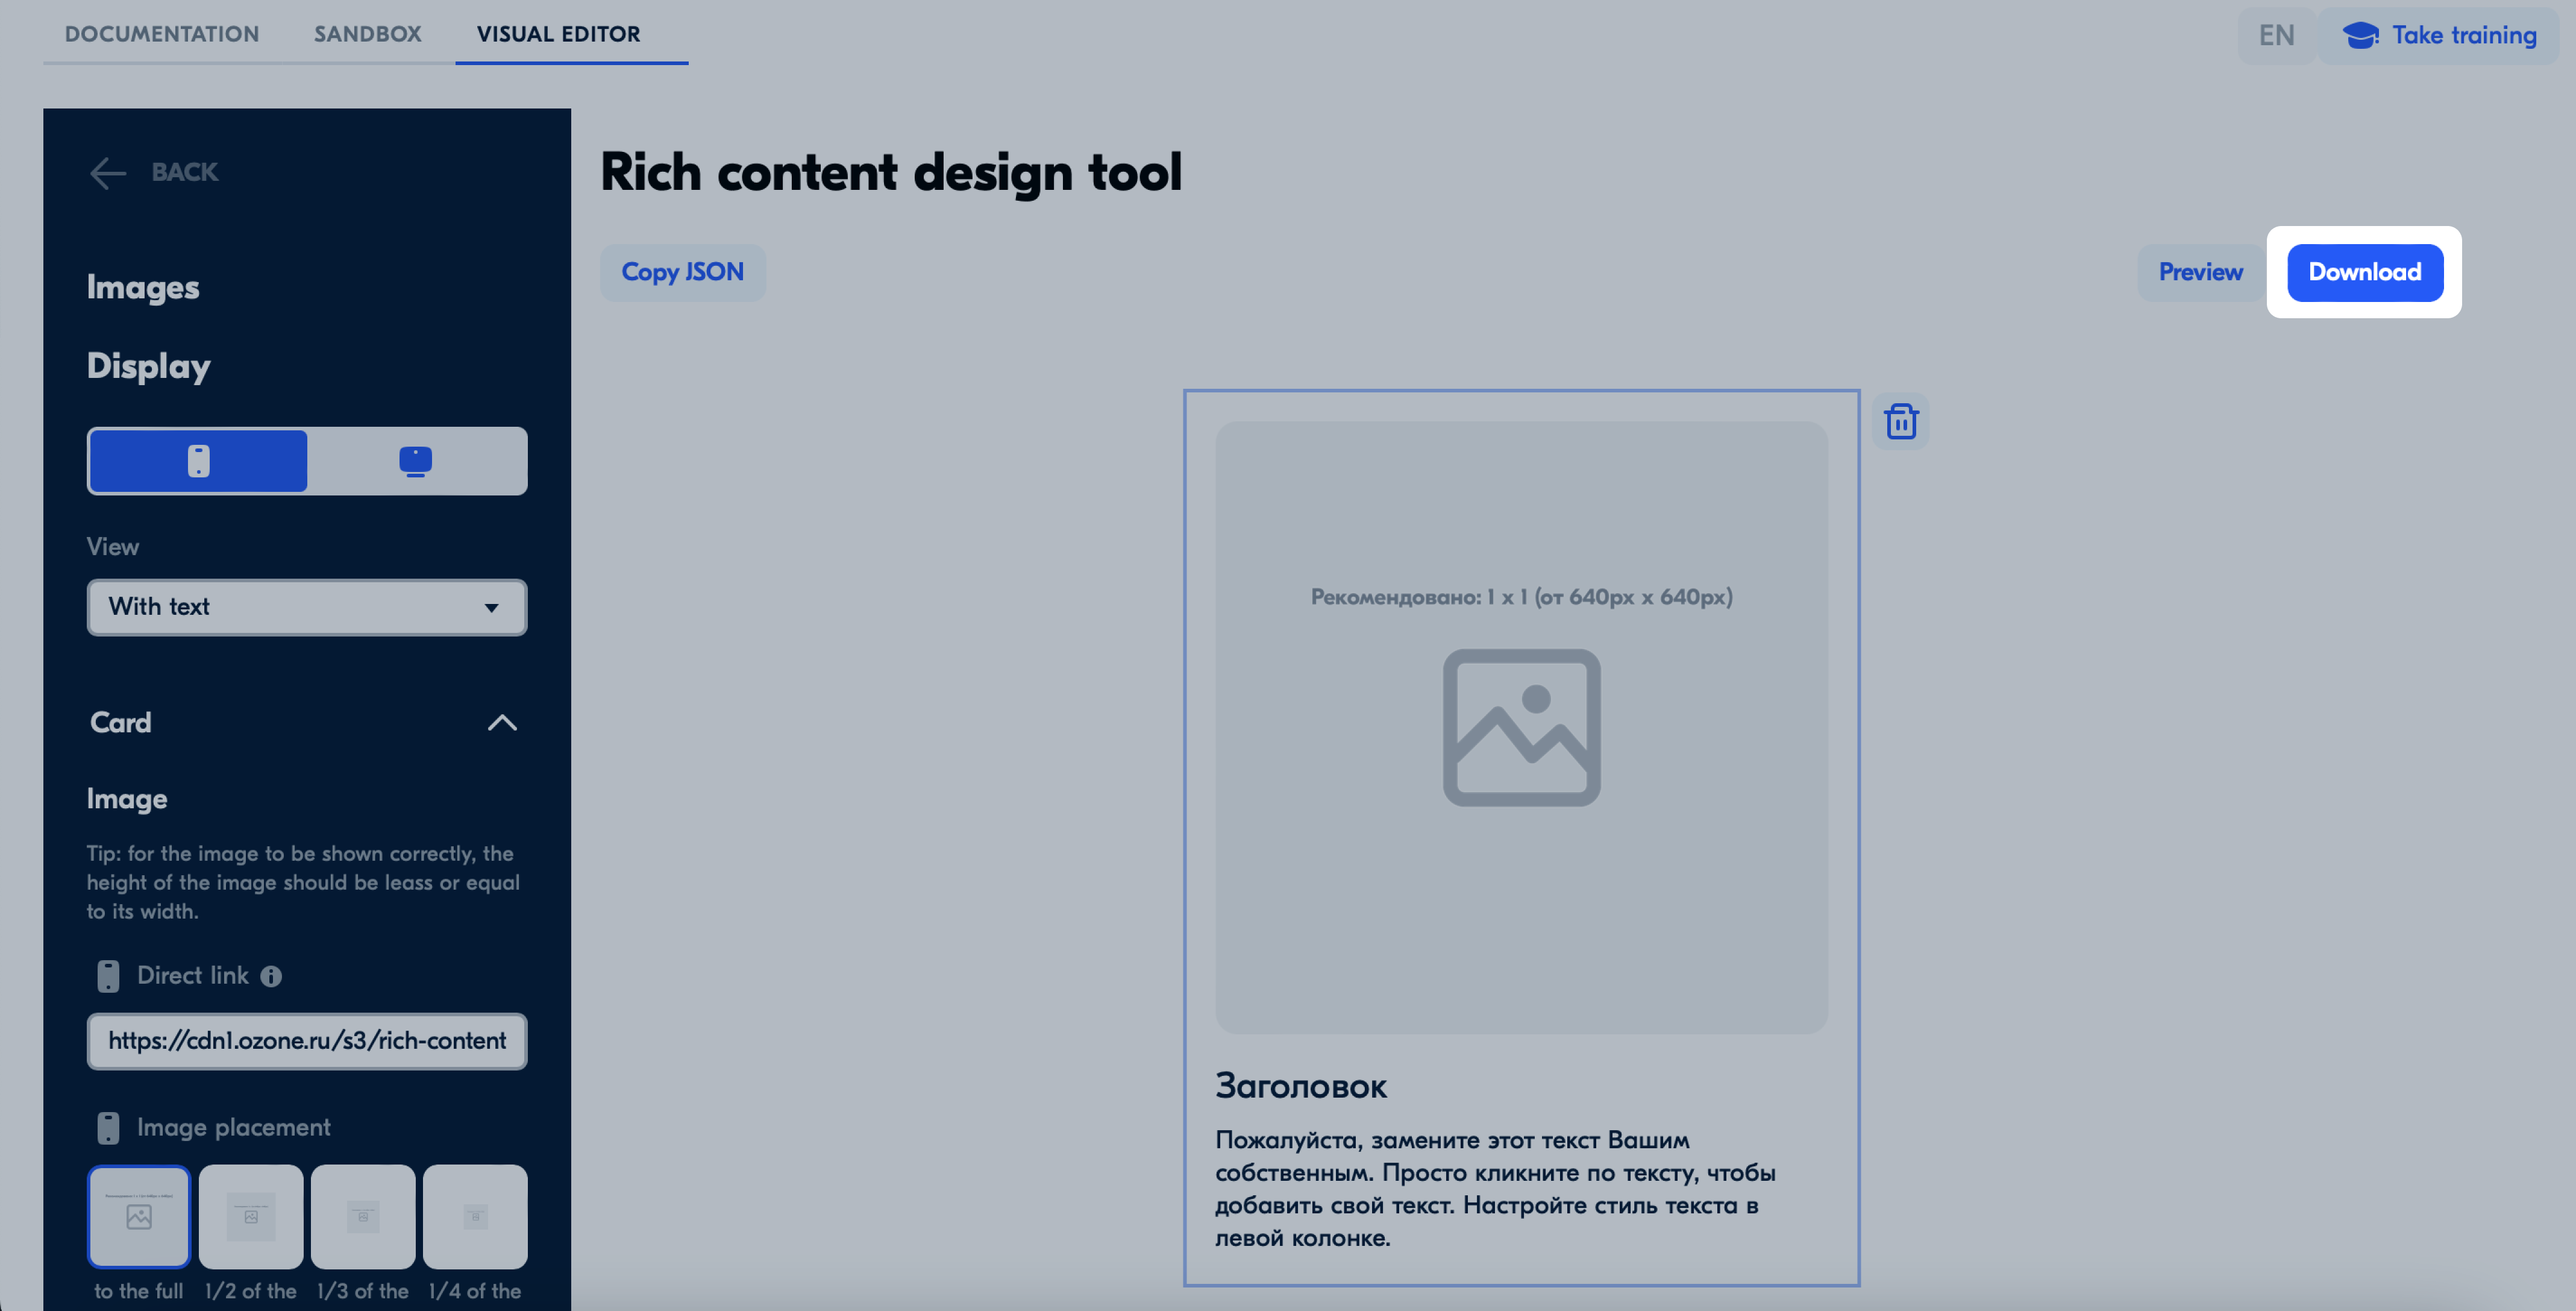
Add image in visual editor #
Prepare images in two versions, for displaying on computer and mobile devices, so that your rich content would look good on any screen.
Image requirements: JPG, JPEG, PNG format, size up to 10 MB. Don’t use GIF files, they’ll make your PDP load longer.
For each image, you can set:
- Its size in the Image placement section.
- A link to another product on clicking the photo. Copy the PDP address on Ozon and add it to the Link field in the image. Don’t add links to the other sites.
- Text description. The customer will see it if the picture has not loaded.
Edit text in a visual editor #
-
Click on the standard text and write your own. There’s a character limit in the headers. The system will cut off everything that doesn’t fit in 2 lines.
-
Scroll the left panel to the Working with text section. Configure the settings for the title and the main text:
- size,
- color,
- alignment.
The text settings are the same for computers and mobile devices.
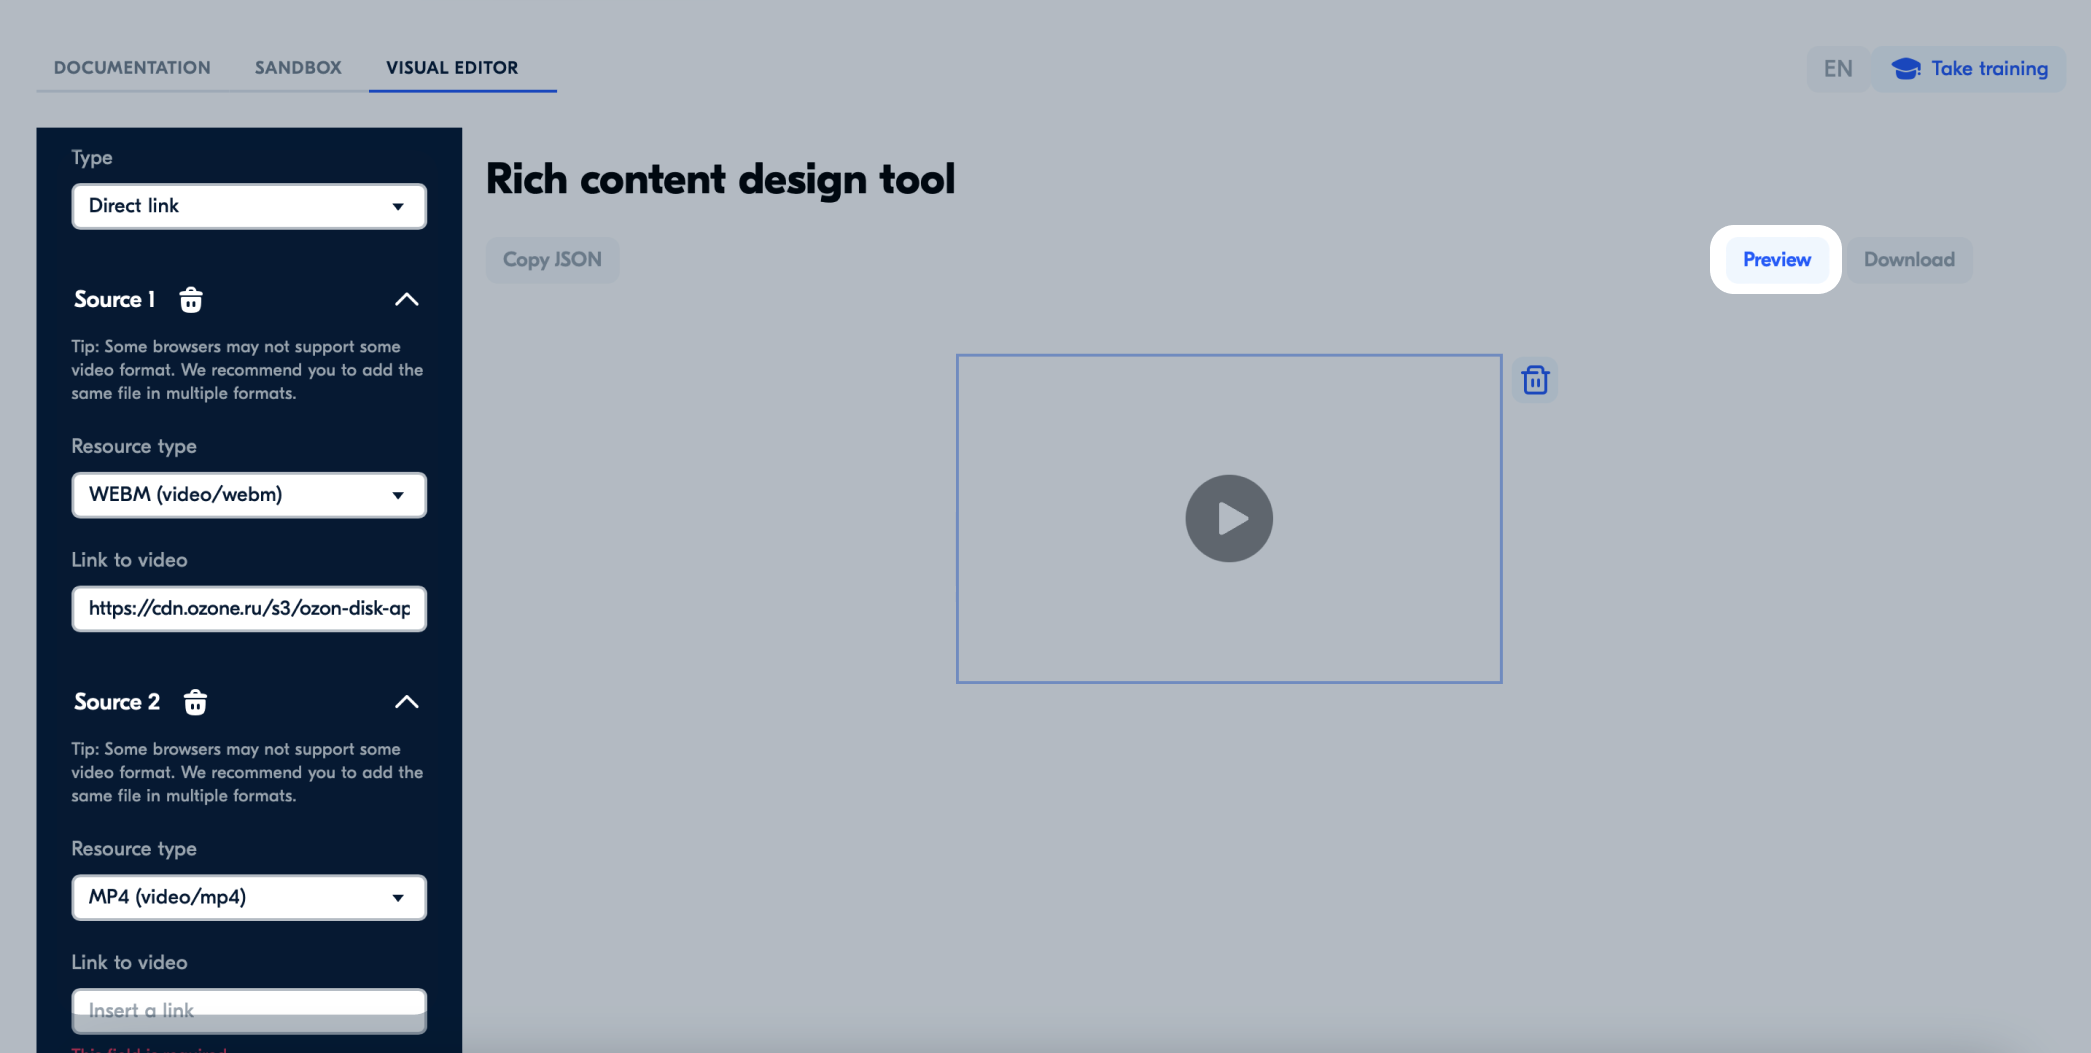
Add a video in the visual editor #
Add rich content from the constructor to the PDP #
Via the constructor in your personal account #
When everything is ready:
-
Click Apply in the upper right corner of the constructor. The code will automatically appear in the Rich-content field.
-
Click Next and save the product. If there was a description in the PDP, you’ll see the added rich content instead of the PDP description.
Via the constructor on the website #
When everything is ready:
-
Click Download in the upper right corner of the constructor.
-
Open the resulting file with any text editor and copy the code.
-
Go to the Products and prices → List of products section. In the row with the necessary product, click
and select Edit product. -
Open the Media tab and paste the code into the Rich content field.
-
Click Next and save the product.
If there was a description in the PDP, you’ll see the added rich content instead of the PDP description.
You can add rich content for several positions at once:
- via XLS template, in the Rich content JSON column;
- via API, using the POST/v2/product/import request.
Edit the JSON code in the constructor #
-
Open a template.
-
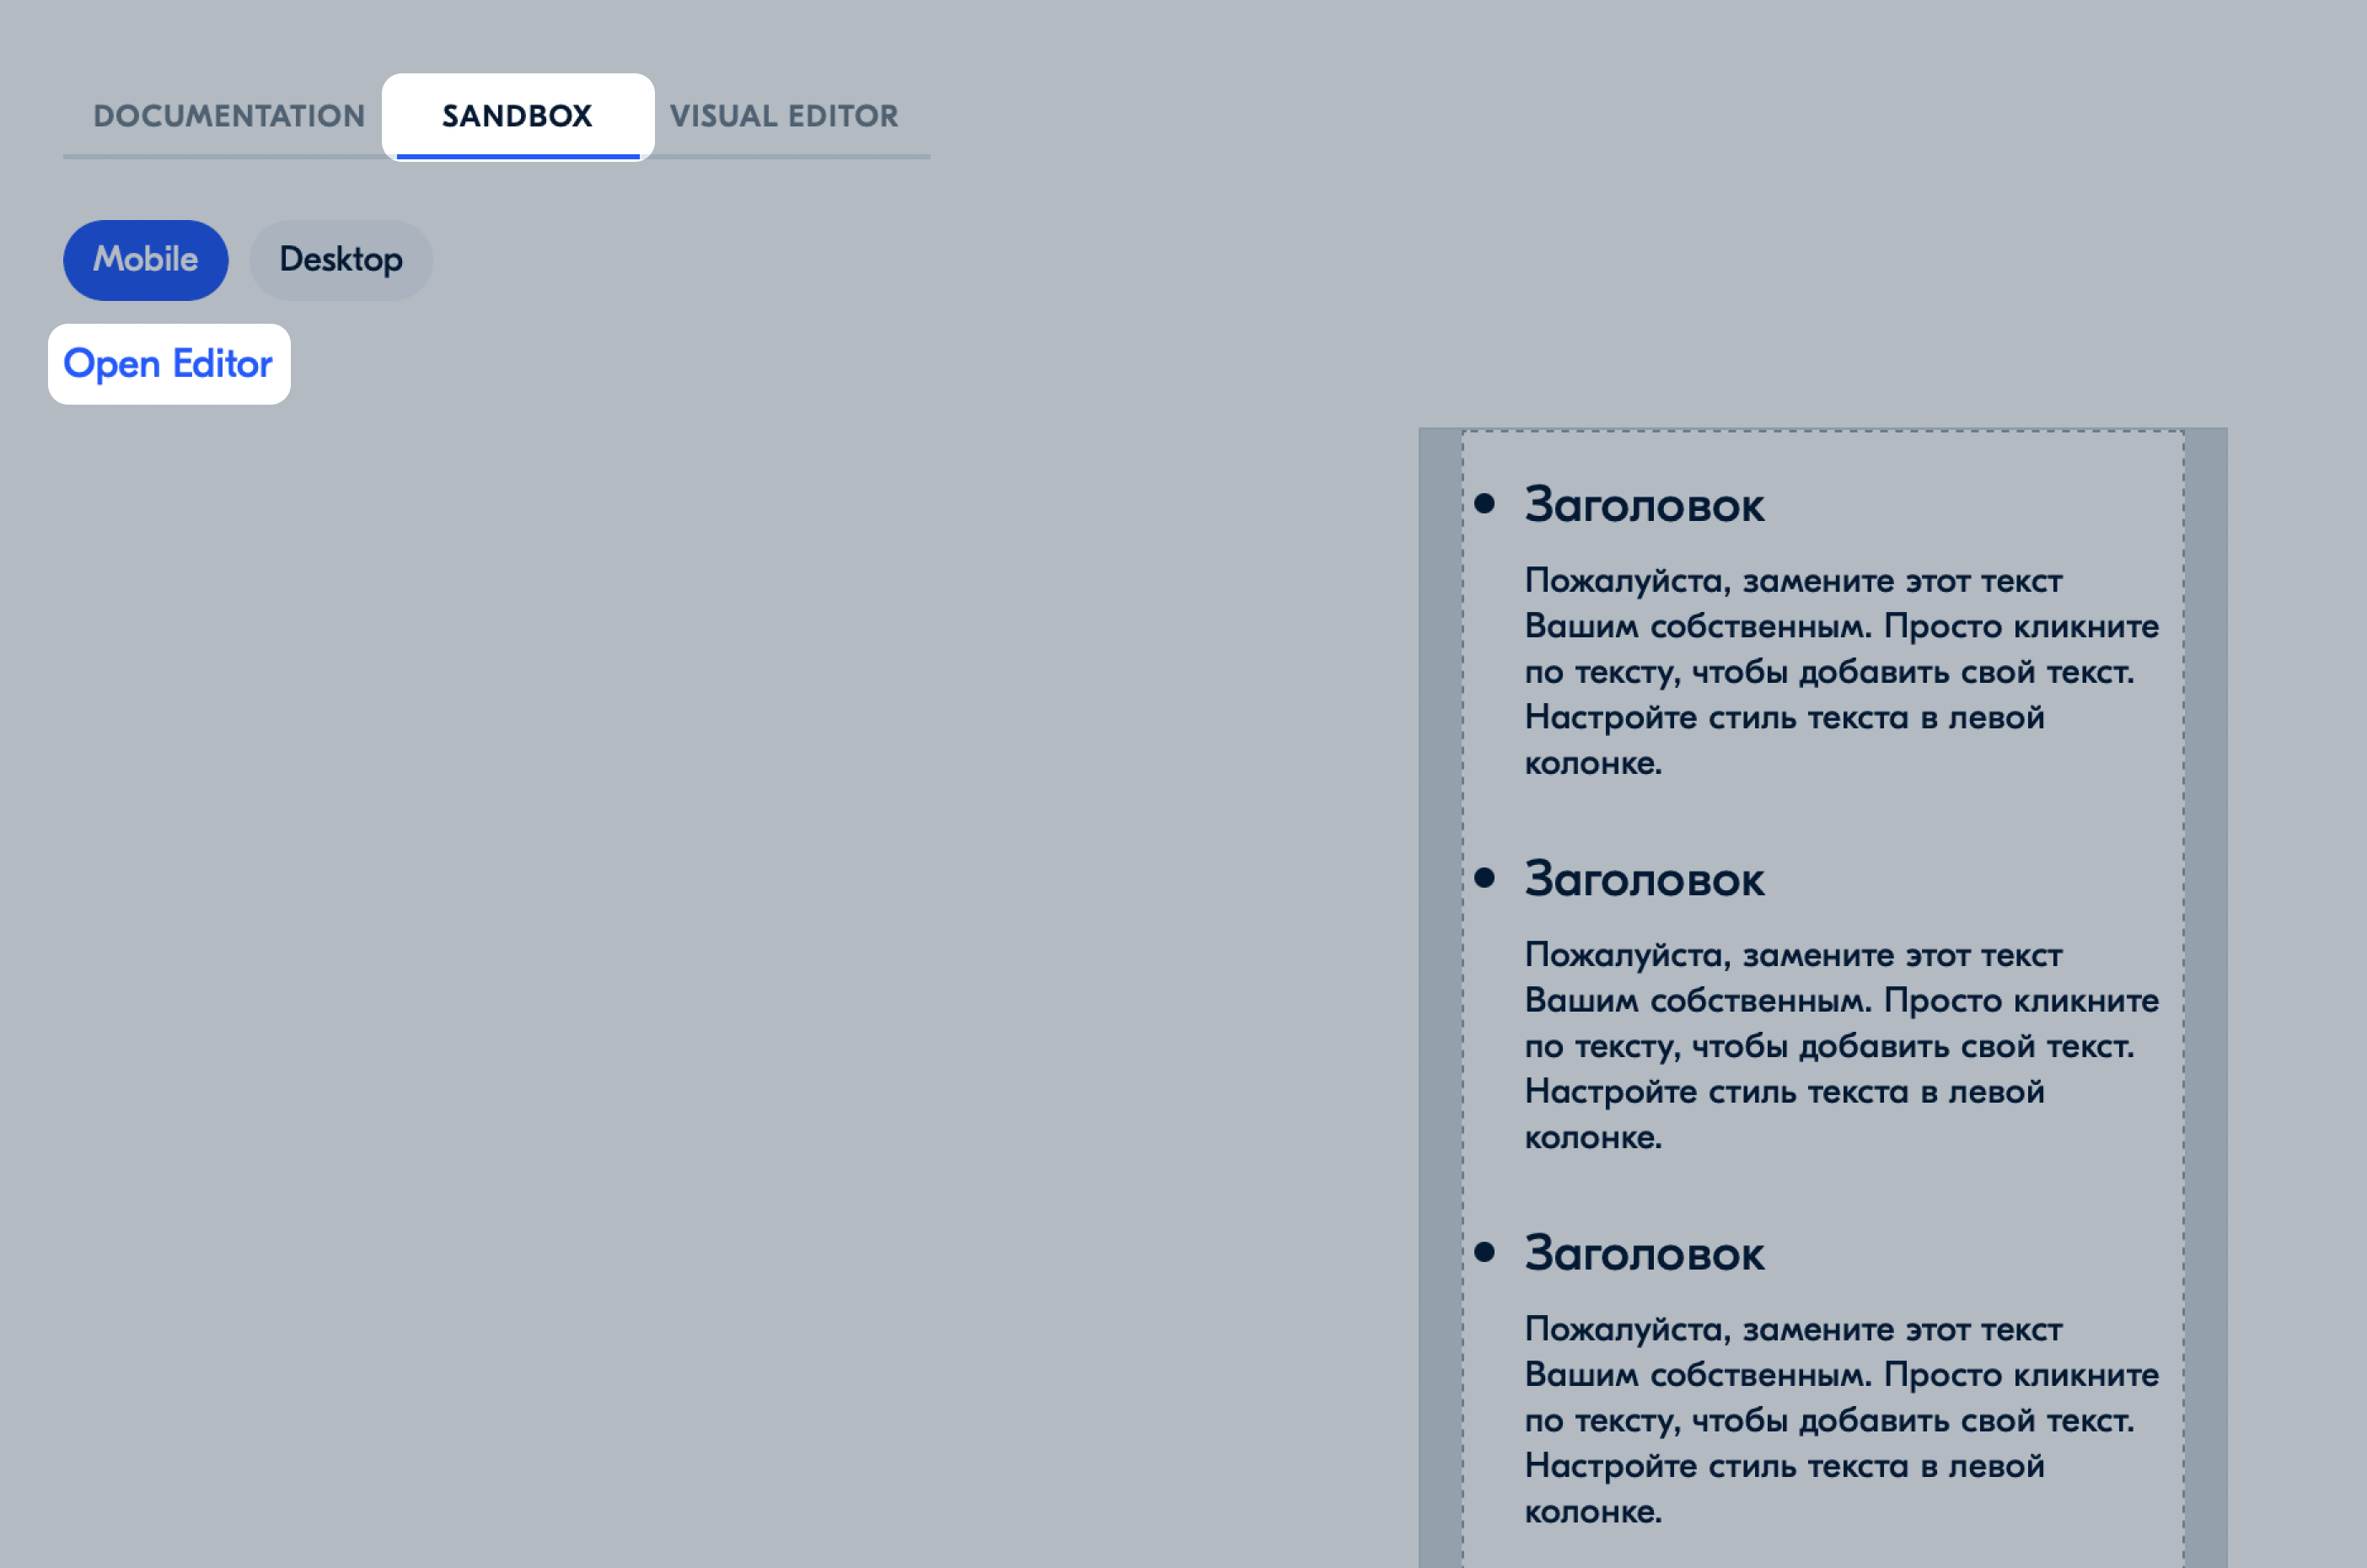
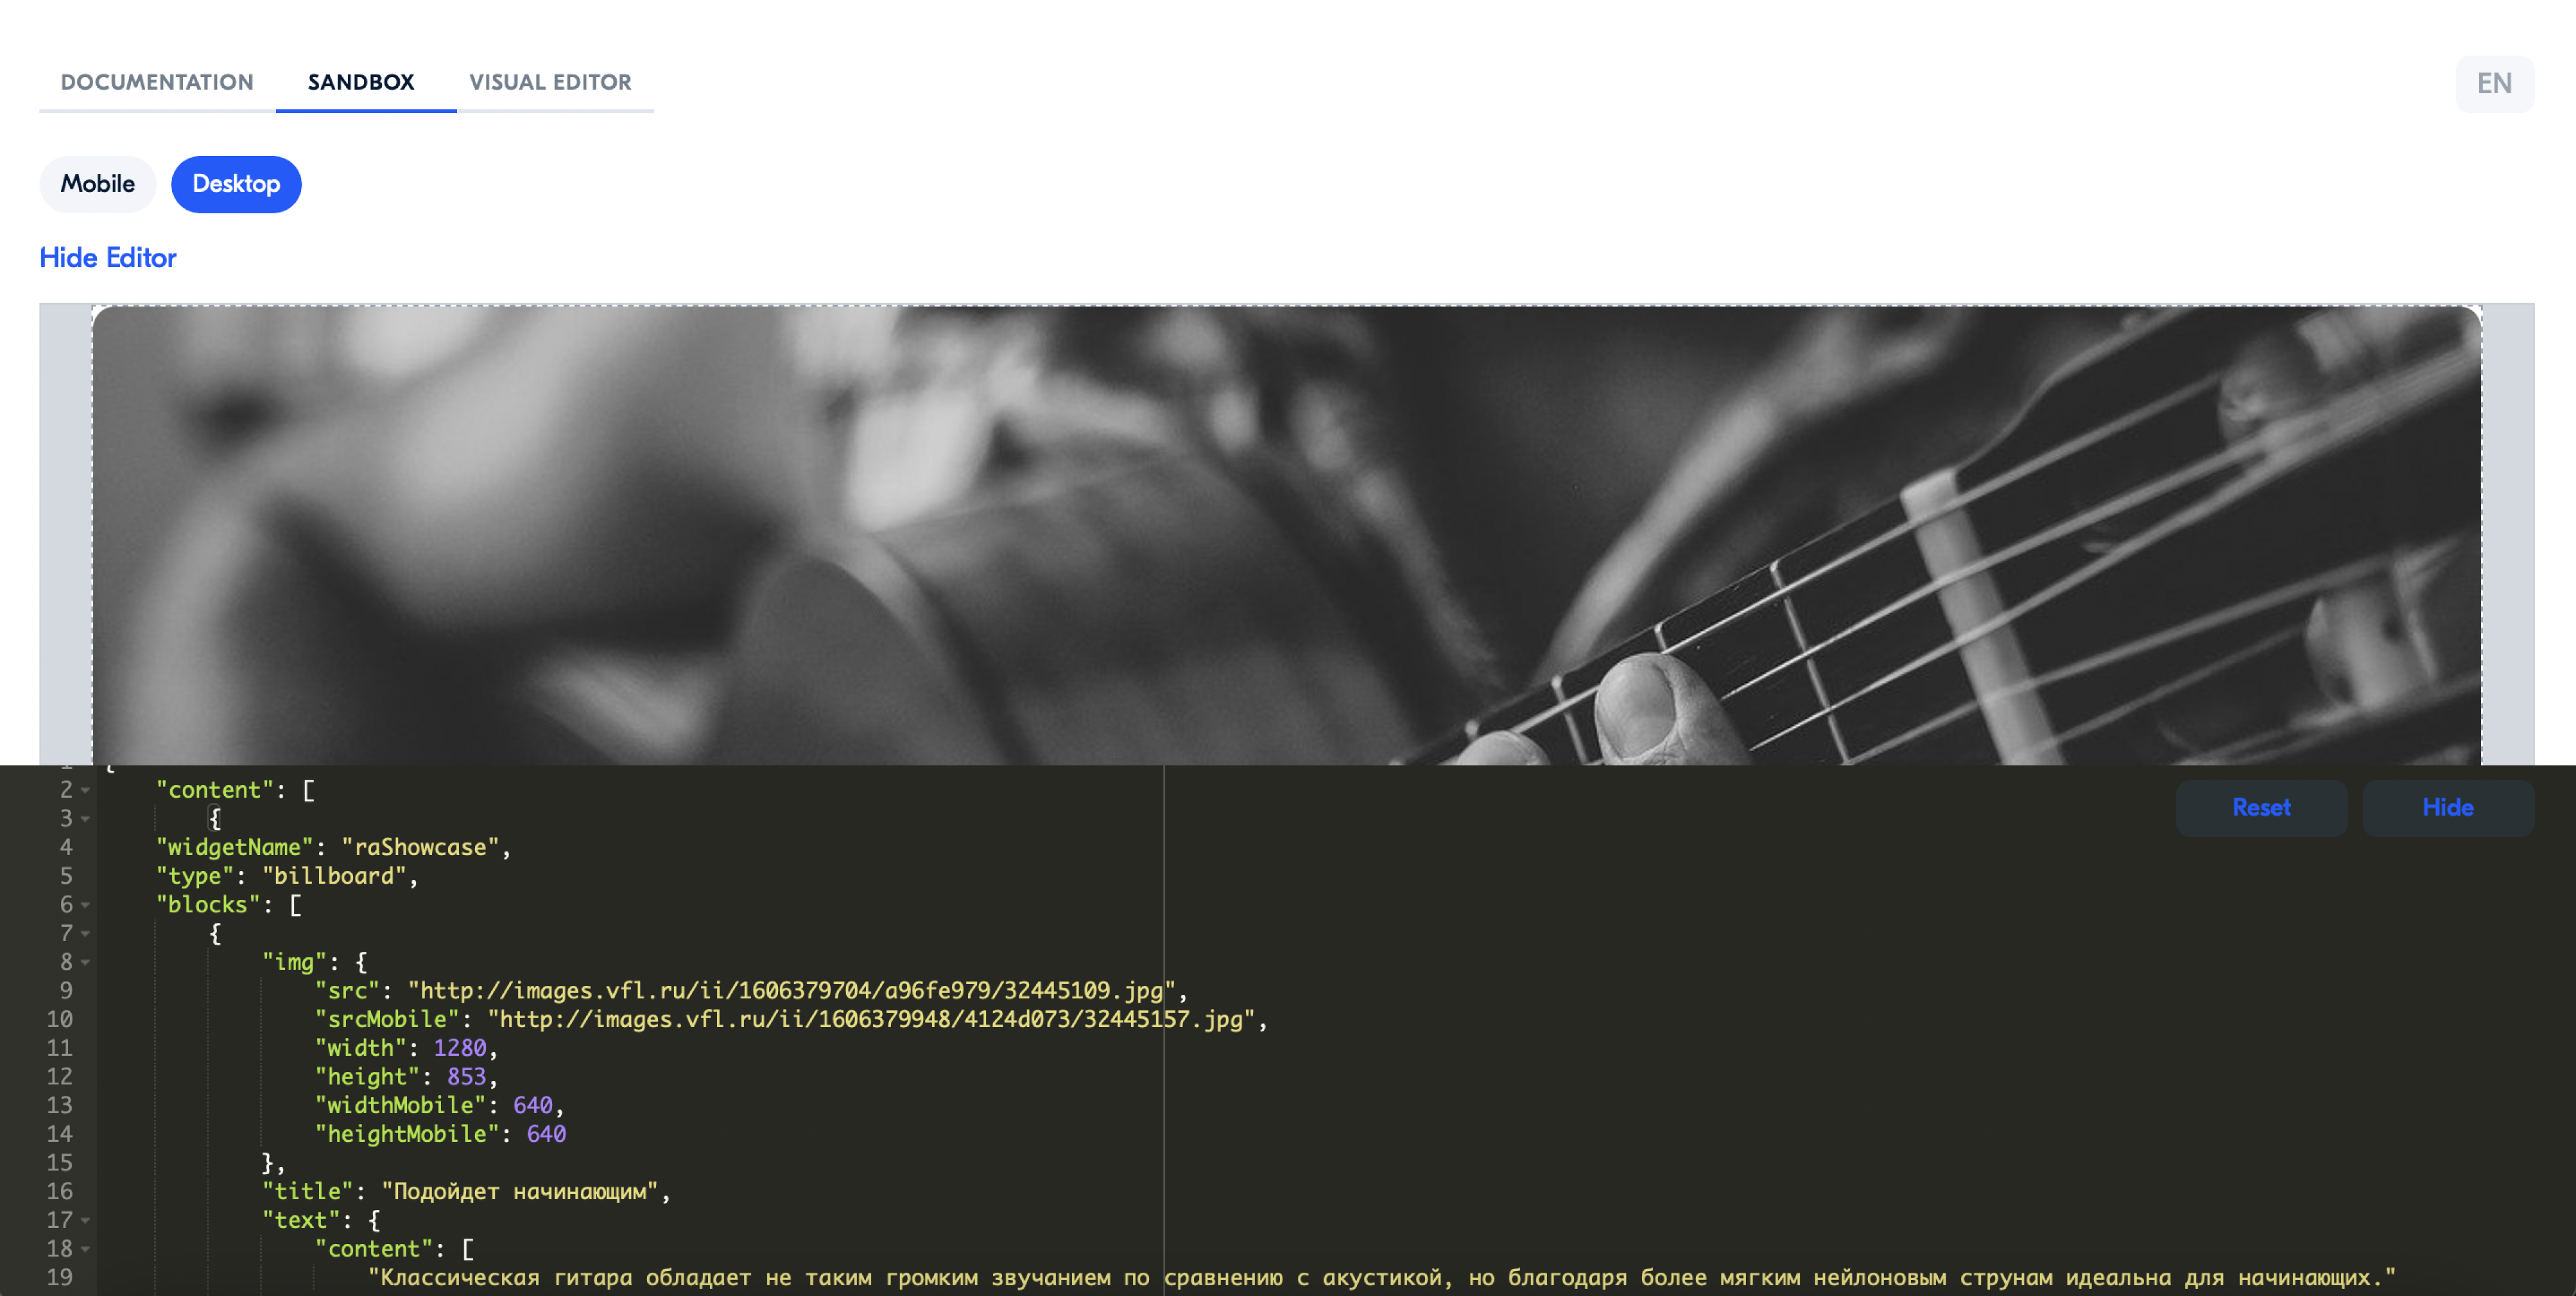
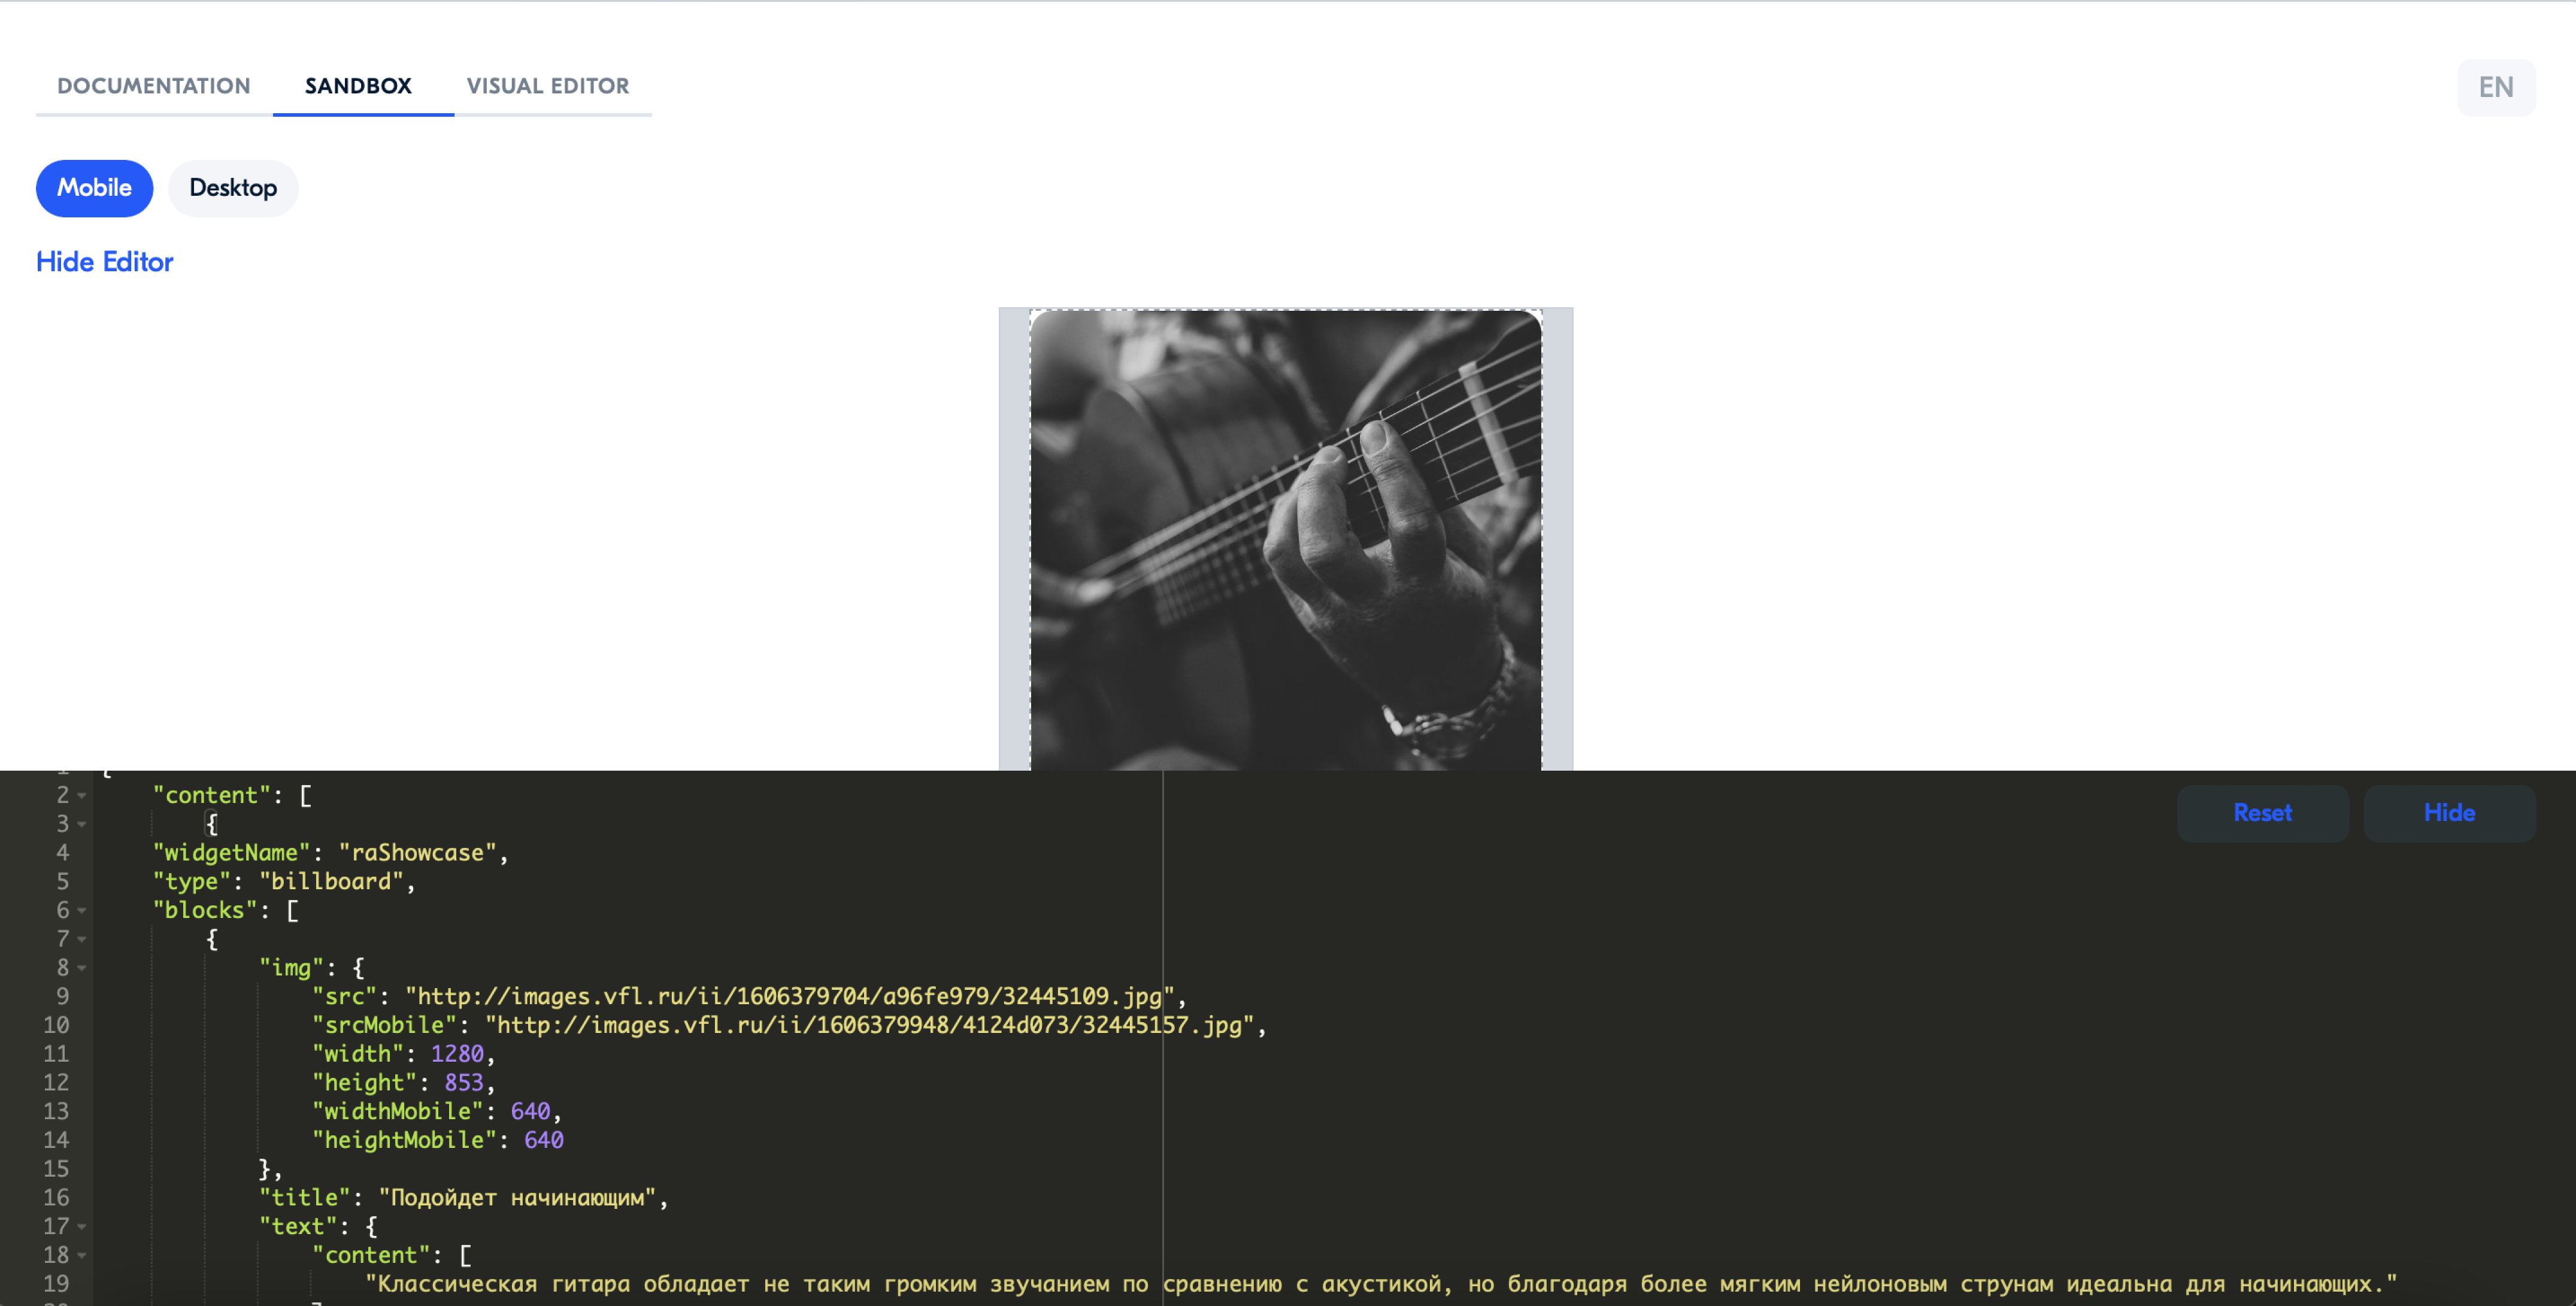
Select the Sandbox tab. You’ll see a layout with photos and captions for photos and videos. All the changes you make in the editor will be displayed on the layout.
-
Click Open editor.
-
Make the necessary changes in the editor: add direct links to images, insert text, and specify the photo size. To add a video, enter a direct link or YouTube video ID. Copy and add appropriate widgets. Remove the widgets you don’t use from the editor.
We have added different widgets to the editor. For example, to add an image with text below the photo, fill in the following parameters:
- scr: a direct link to the image to be displayed on the website;
- srcMobile: a direct link to the image to be displayed in the mobile version of the website or in the app;
- width: the width of the image on the website;
- height: the height of the image on the website;
- widthMobile: the width of the image in the mobile version;
- heightMobile: the height of the image in the mobile version;
- title: caption for the image—title;
- content: caption for the image—body text.
Make sure that for each open bracket, a corresponding closed one is present.
An example of a filled in widget:
{
 "widgetName": "raShowcase",
 "type": "billboard",
 "blocks": [
     {
         "img": {
             "src": "http://images.vfl.ru/ii/1606379704/a96fe979/32445109.jpg",
             "srcMobile": "http://images.vfl.ru/ii/1606379948/4124d073/32445157.jpg",
             "width": 1280,
             "height": 853,
             "widthMobile": 640,
             "heightMobile": 640
         },
         "title": "Great for beginners",
         "text": {
             "content": [
                 "A classical guitar doesn't sound as loud as a steel-string acoustic, but the softer nylon strings make it perfect for beginners."
             ]
         }
     }
 ]
}
If there are errors in the code, you’ll see Invalid JSON in the lower right corner.
-
Add rich content using any method you like:
- In your profile: copy the code from the template and add it to the Rich content JSON field.
- In an XLS file via template: copy the code from the template and add it to the Rich-content JSON column.
- Via API: use the POST /v2/product/import query.
- In your profile: copy the code from the template and add it to the Rich content JSON field.
Adding rich content via API #
To send queries via Ozon Seller API, you need a user ID and an API key. To do this:
-
In your profile, go to Settings → API keys and click Generate key.
-
Enter the key name and choose a role.
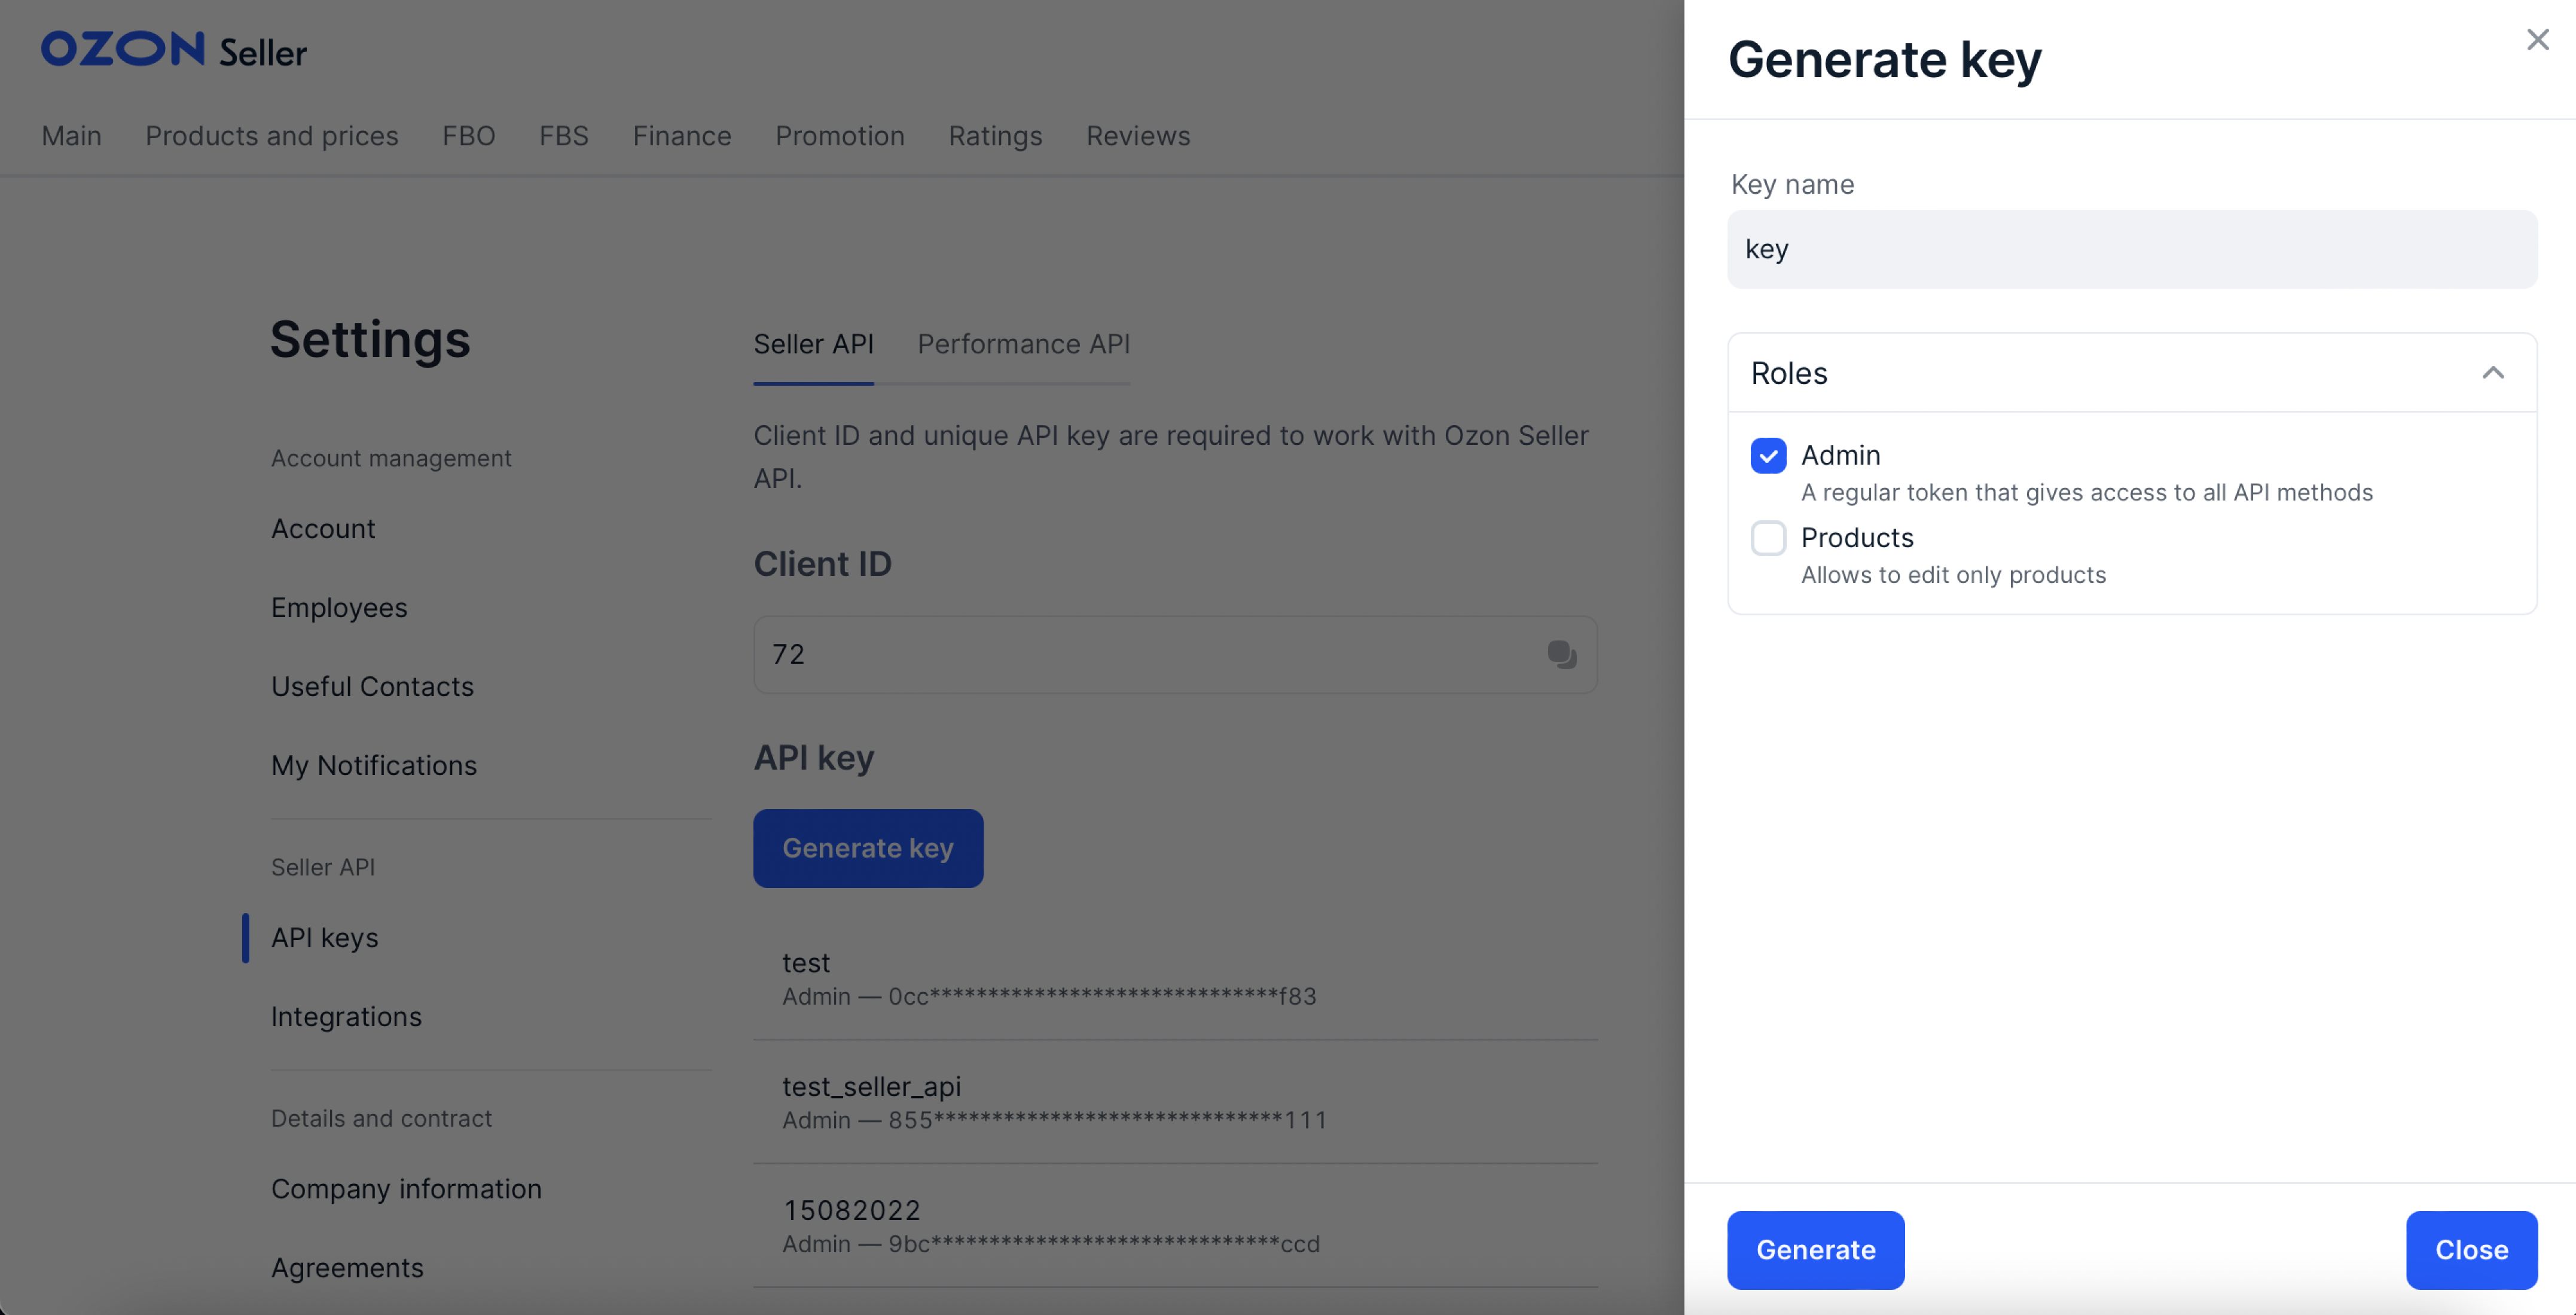
-
Click Generate.
-
Use the POST /v2/product/import query to add rich content.
Using rich content documentation #
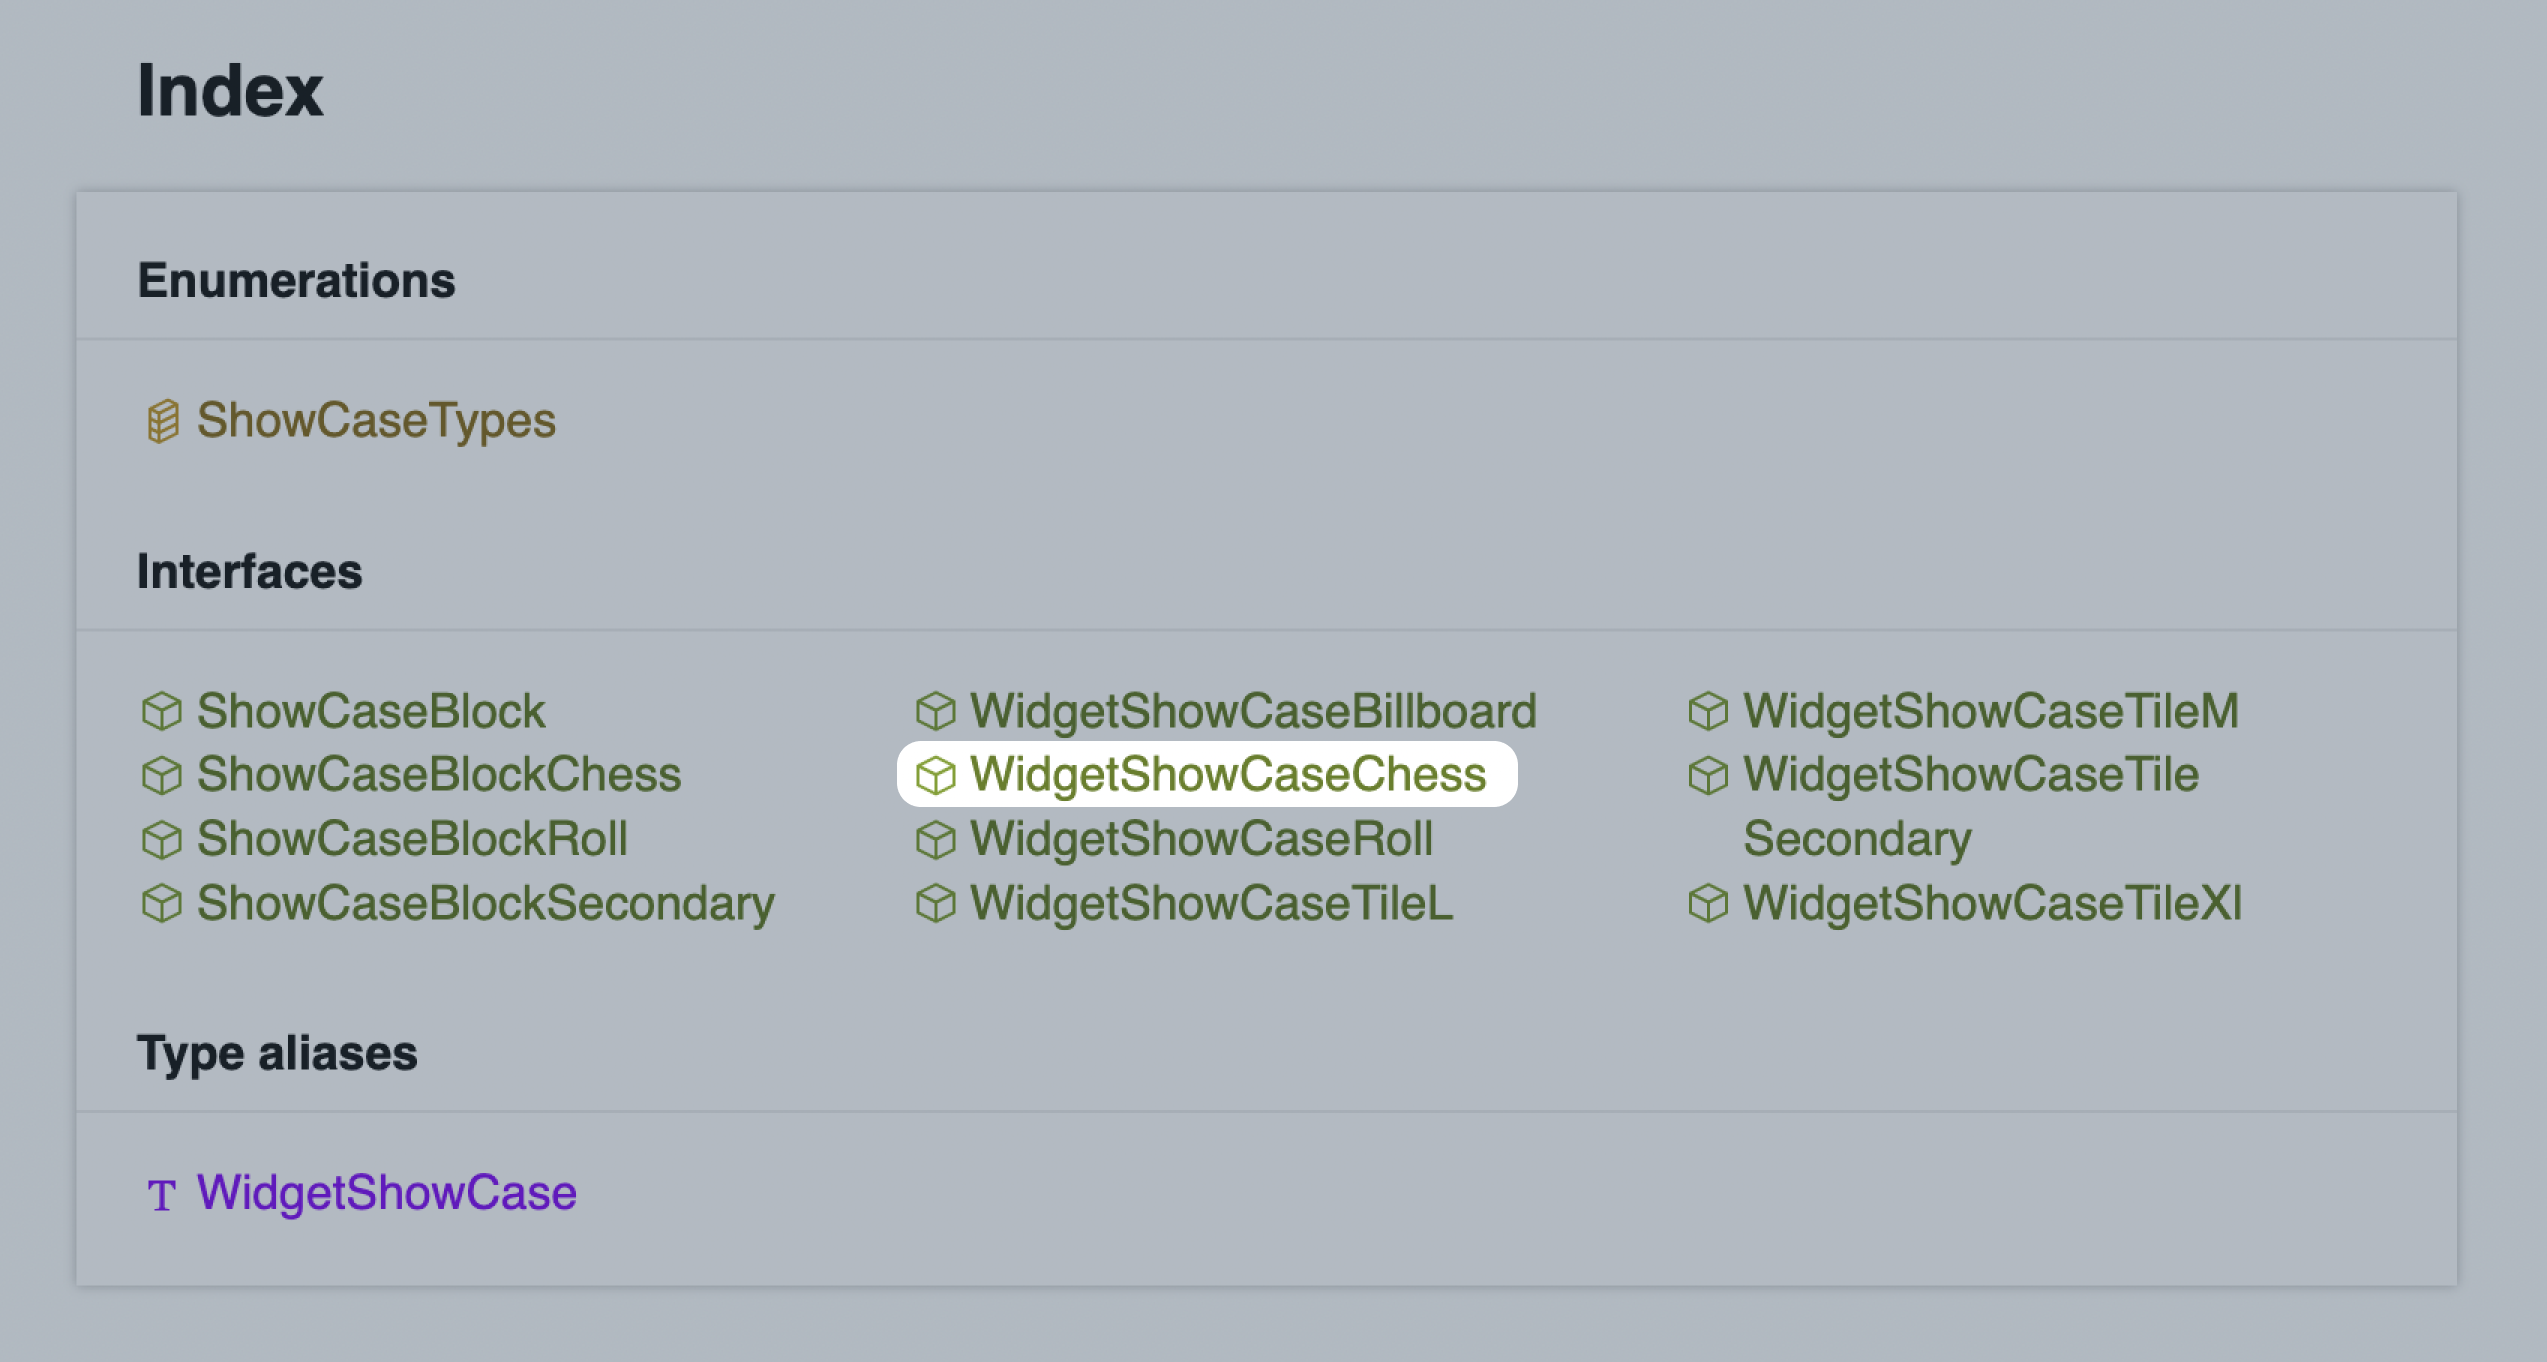
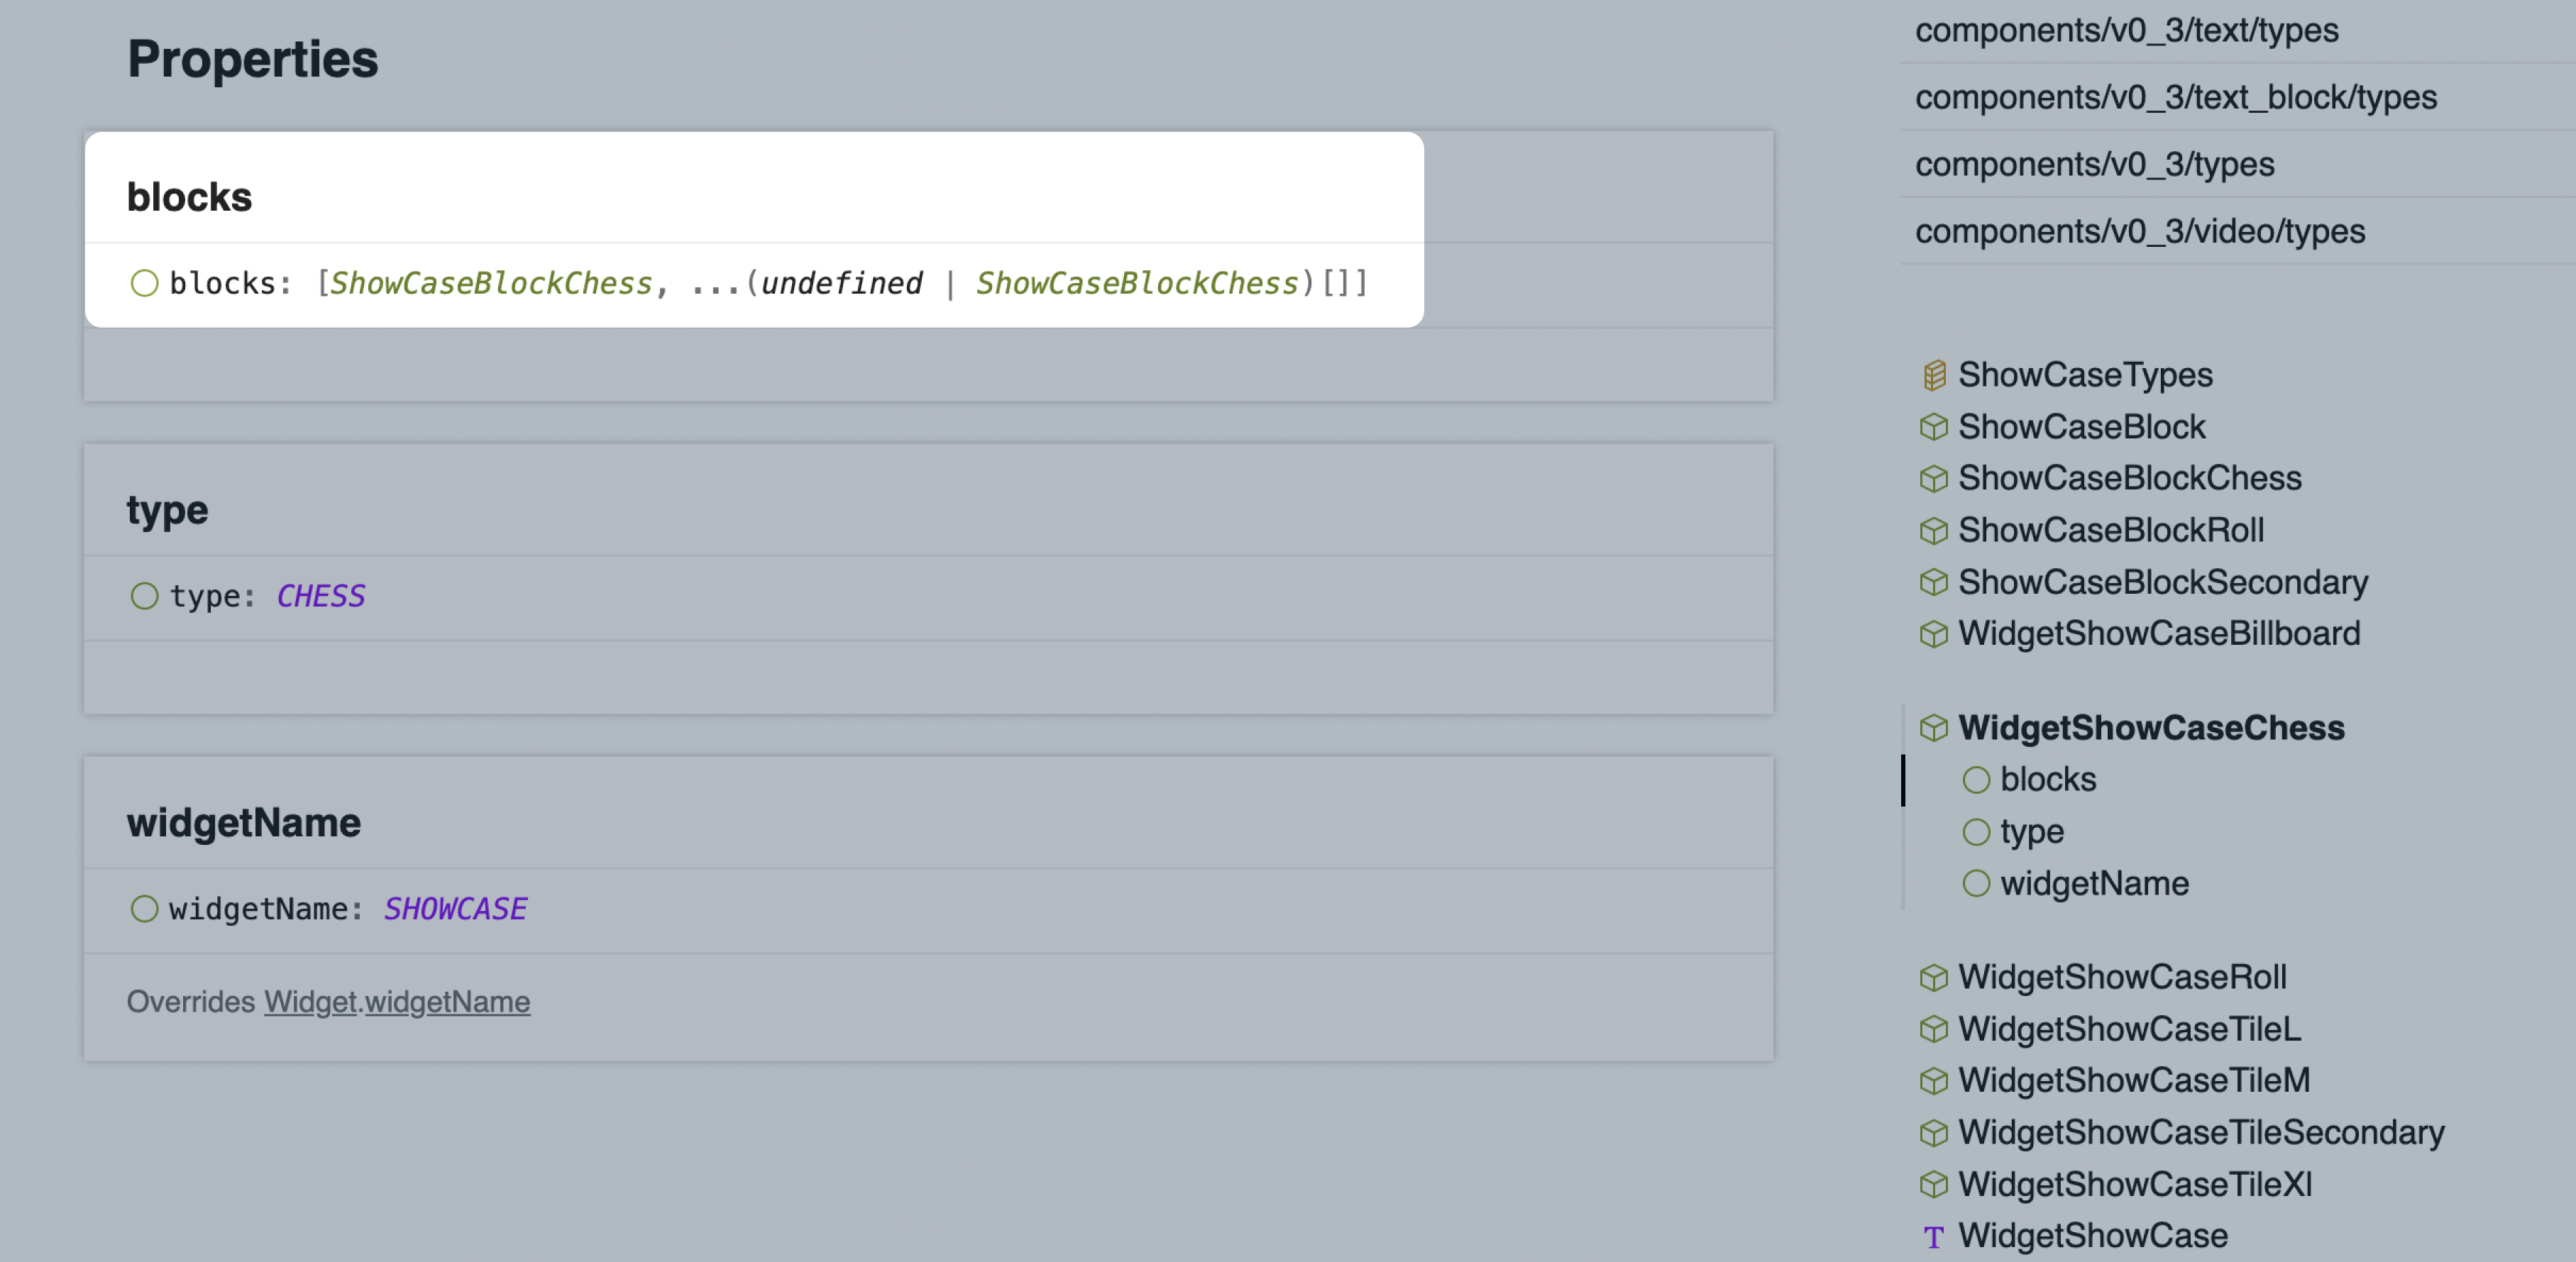
You can learn more about different widgets in the Rich content documentation. For example, you can find out how many blocks you can add to a widget of the “chess” type.
-
Go to the rich content documentation, then to types description.
-
Go to the v0_3/showcase/types module.
-
Select the WidgetShowCaseChess widget.
-
In the Properties section, all the parameters are listed that you should specify for the selected widget. The blocks parameter adds an image and a caption for it. The minimum number of blocks in a “chess” type widget is 2. The maximum number of blocks is six in a single widget.
Getting a direct link to an image #
If you have your own website, give direct links to images uploaded to it, or use a free photohosting site. For example, vfl.ru. Select the necessary image and click Upload. In the Direct image link block, copy the link and add it to the editor.