For sellers of clothing, footwear, sport products, and other products with size charts, we’ve added a visual constructor. Add the product parameters to the table so that the customers can choose the right size.
In the constructor:
- you can do everything yourself: you don’t have to ask support to add tables;
- you don’t have to do it all at once: we save a draft, so you can return to it;
- the size charts will adjust to the screen size: you can check how they look from your computer and smartphone on the preview stage.
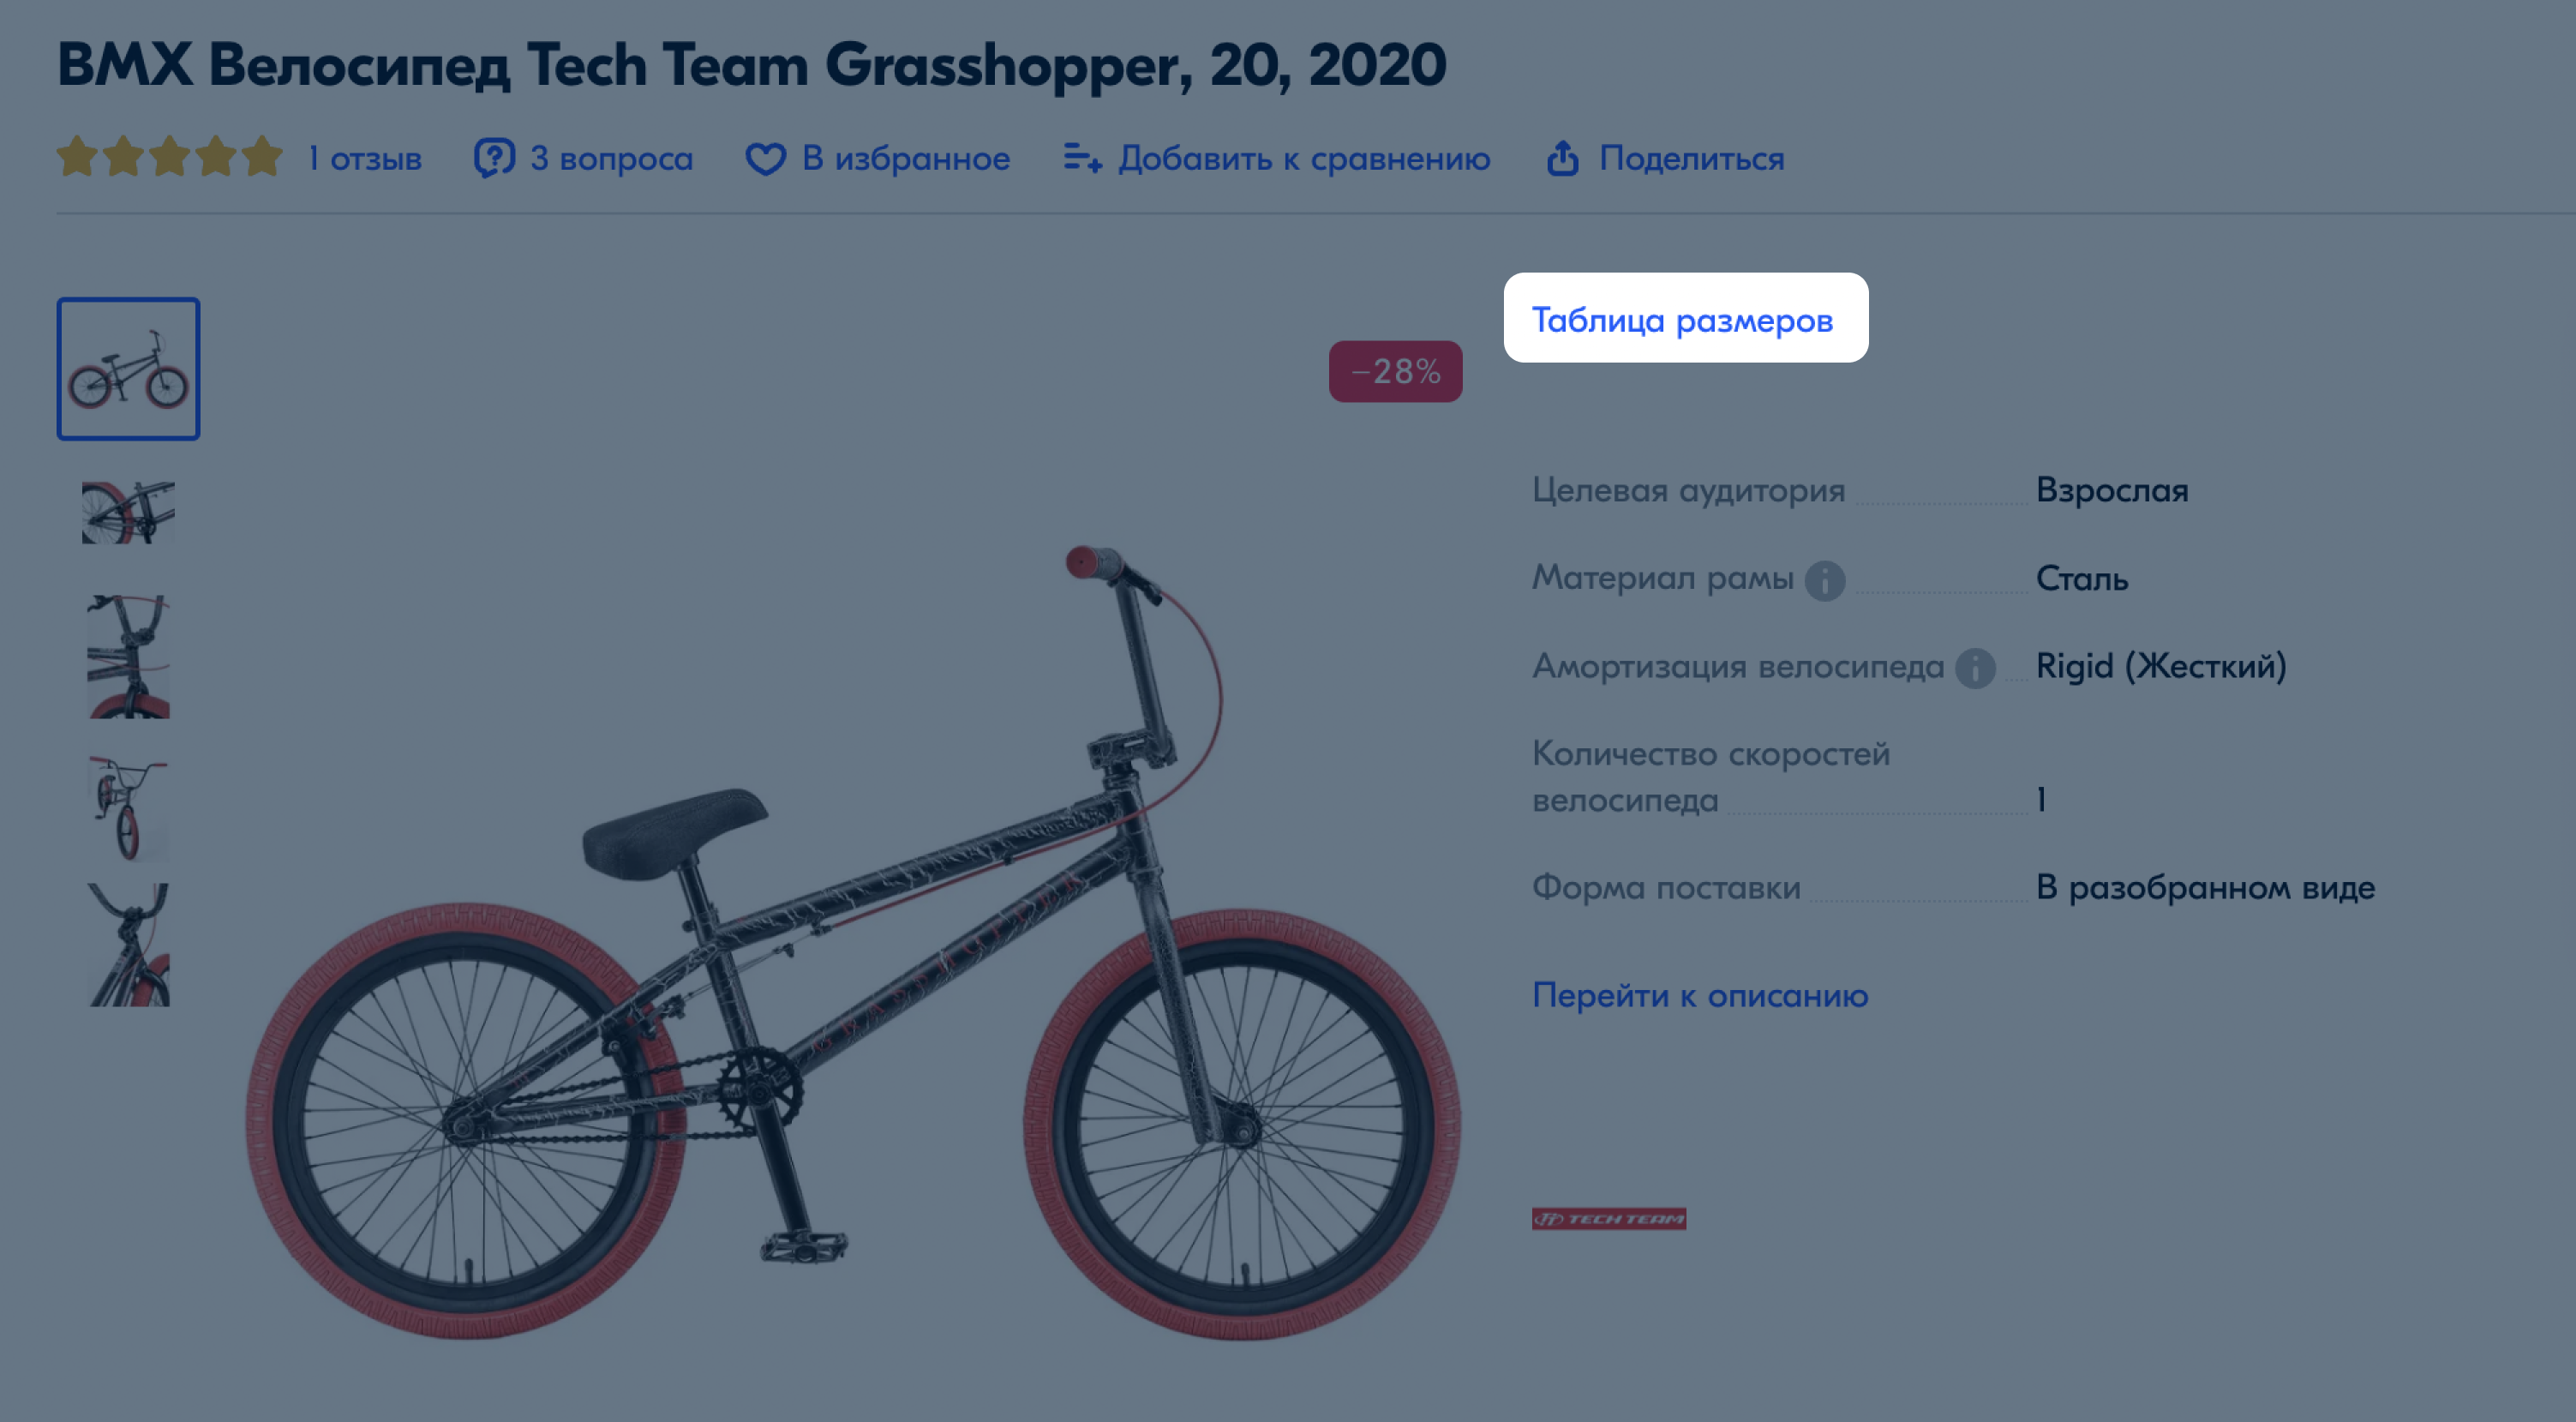
How customers will see the size table #
The Таблица размеров (Size table) button will appear on the product description page. It is located:
-
for clothes and shoes: above the field with a size choice;

-
for other products: above the list of characteristics.
How to use the size table constructor #
Step 1. Open the constructor #
You can open the constructor site or go to it from your personal account:
-
Open the Products and prices → Manage Inventory section.
-
Click
 and select Edit product in the row with the desired product.
 -
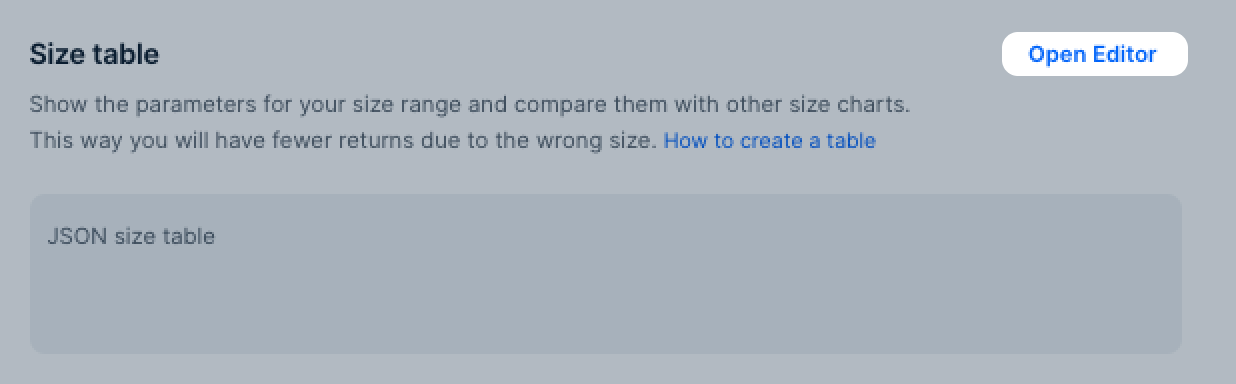
Open the Media tab and in the Size table block click Open visual editor.
-
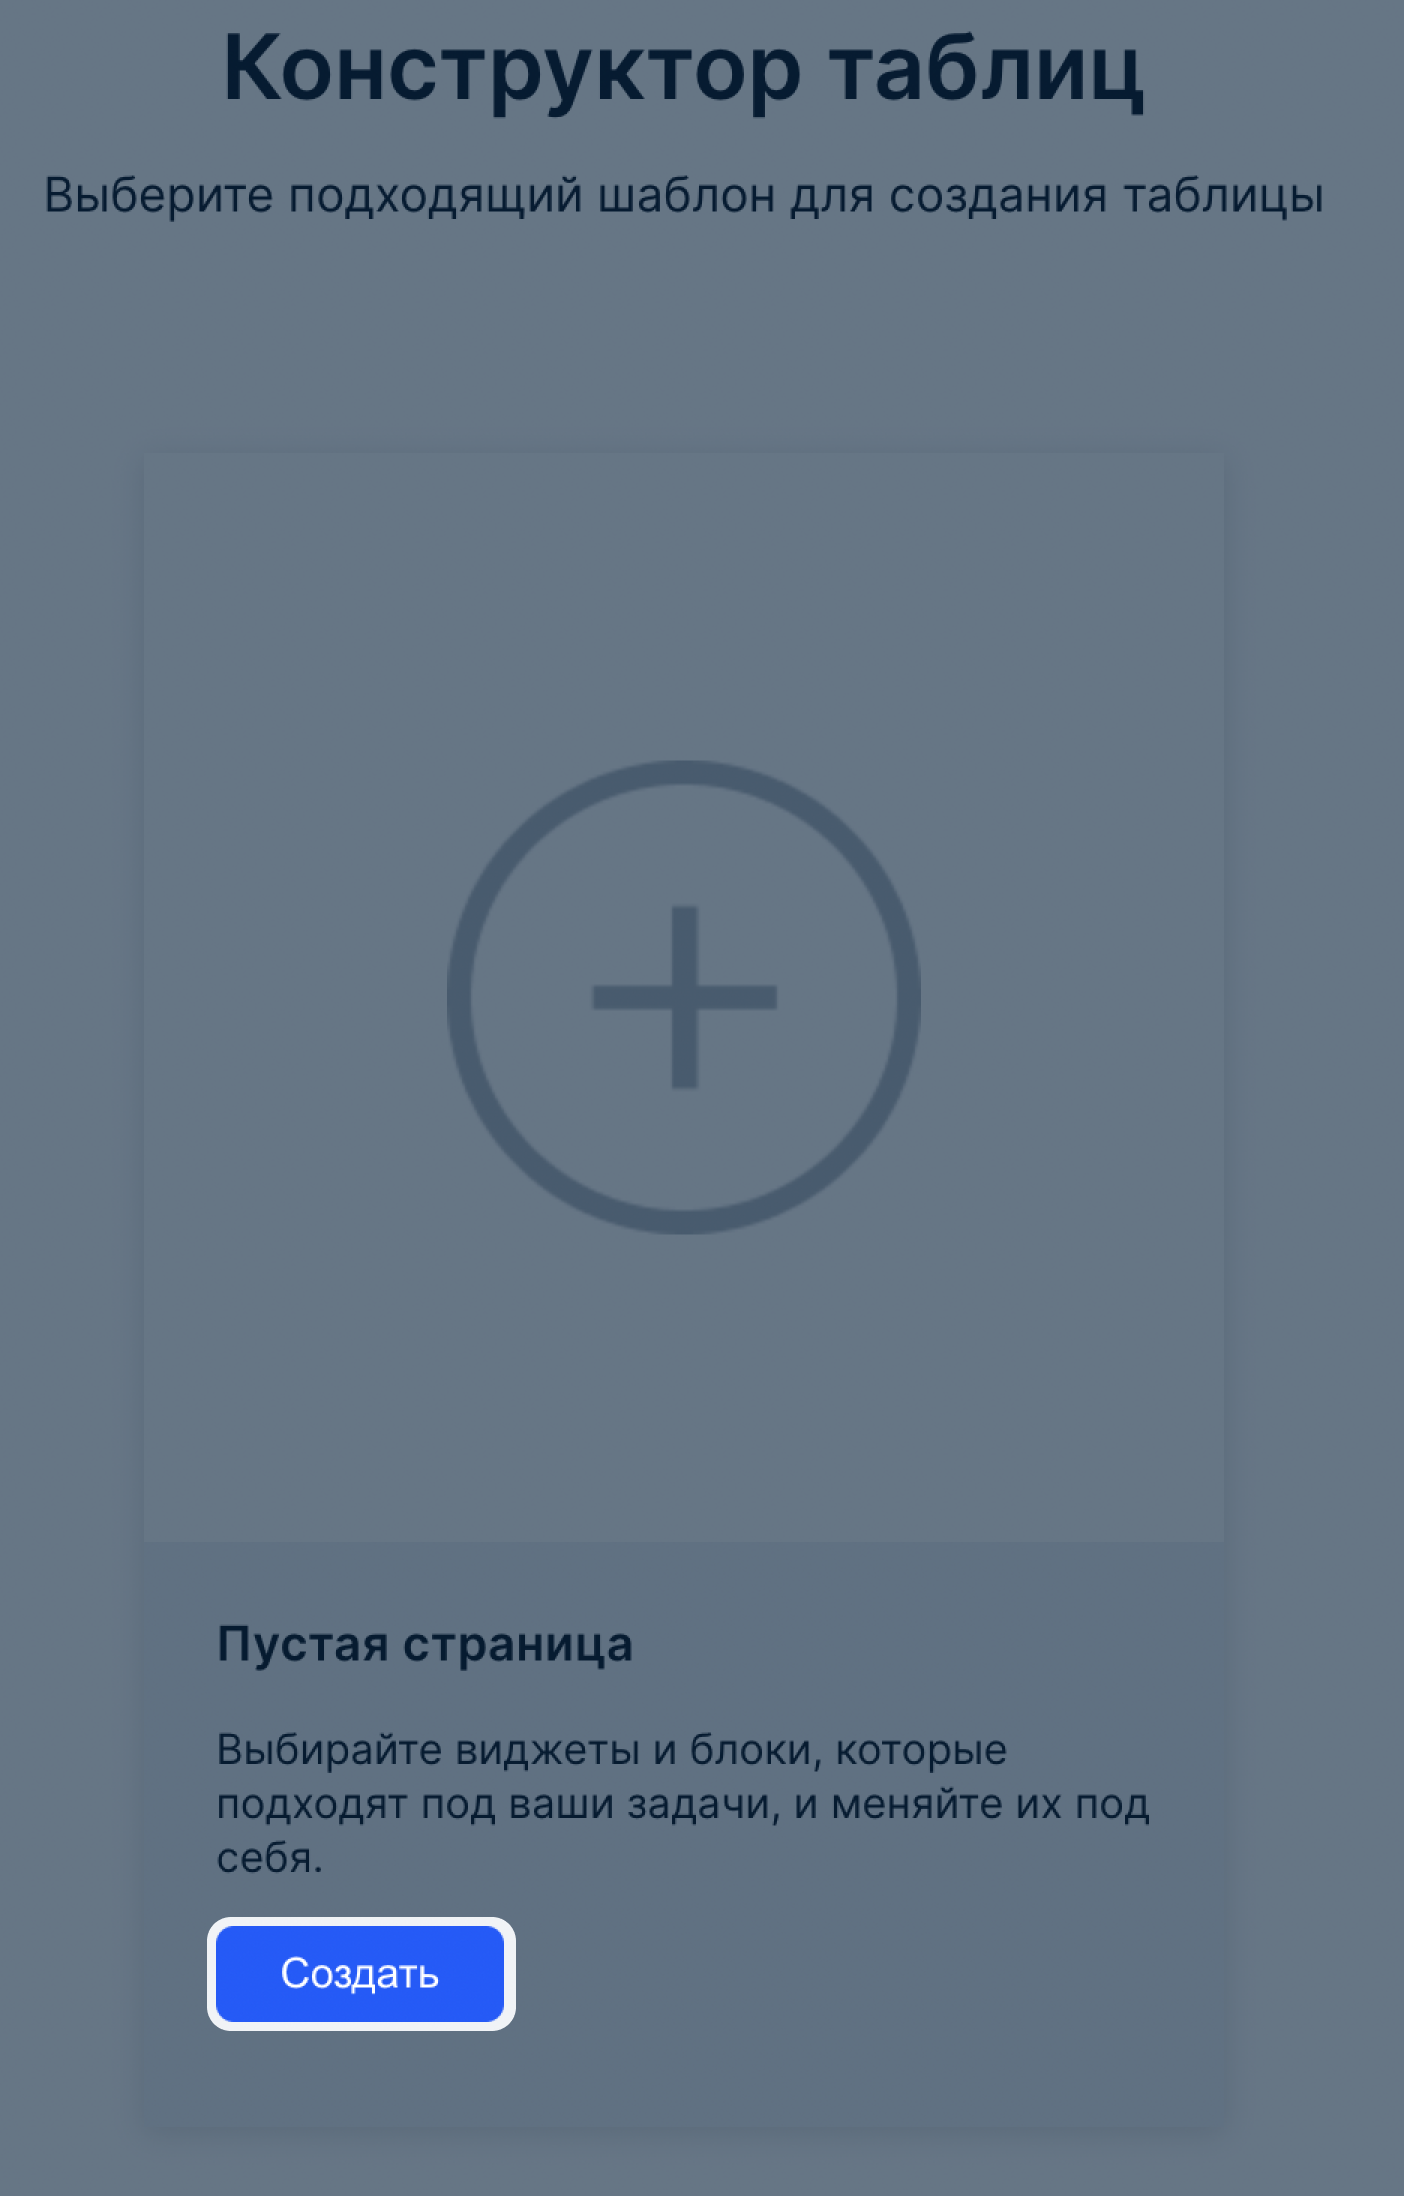
Click Создать (Create). The constructor opens in the panel on the right.
If you make changes and close the constructor, the browser saves the draft so that you can continue later. If you work in your personal account, Ozon saves drafts for each product. If on the external site, only one latest version.
Step 2. Add widgets #
We recommend creating size tables in the visual editor, but you can also use the Песочница (Sandbox) tab. Here you can create a table in JSON.
There are several types of blocks in the editor:
- Таблица (Table): sizes and volumes chart. You can change the row names and add a hint to each, if necessary.
- Инструкция по обмерам (Measurement instructions): ready-made recommendations for customers on how to take measurements. You won’t be able to change the text in this block.
- Предупреждение (Warning): additional information about your products' features. You can choose a ready-made option or create your own and decide which blocks you want: the header and the main text.
To create a size chart, drag any block into the workspace. Their number and order can be any, but there must be at least one Table.
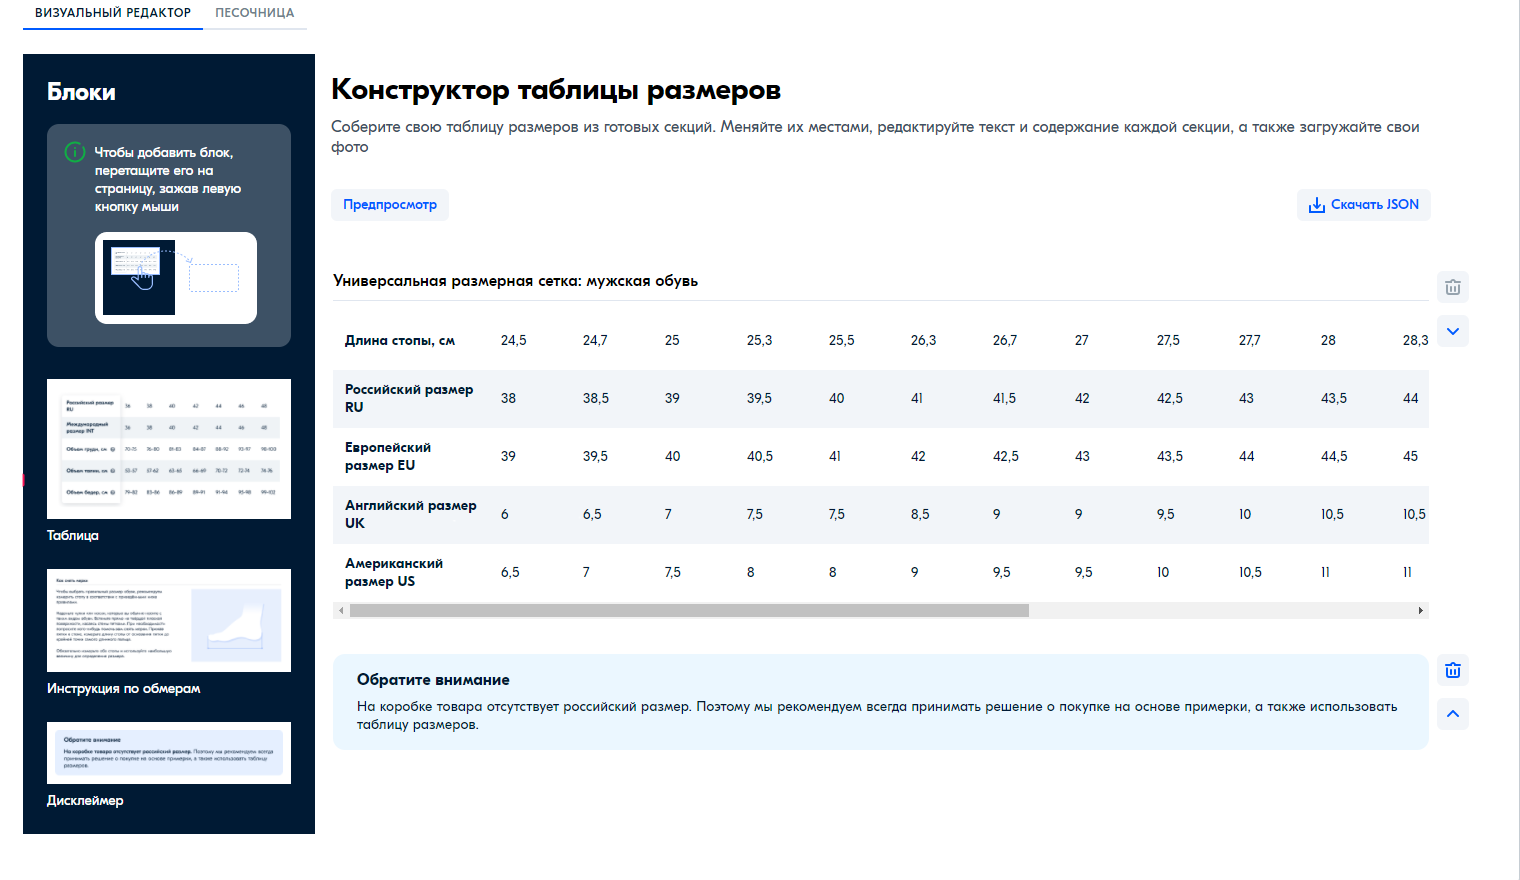
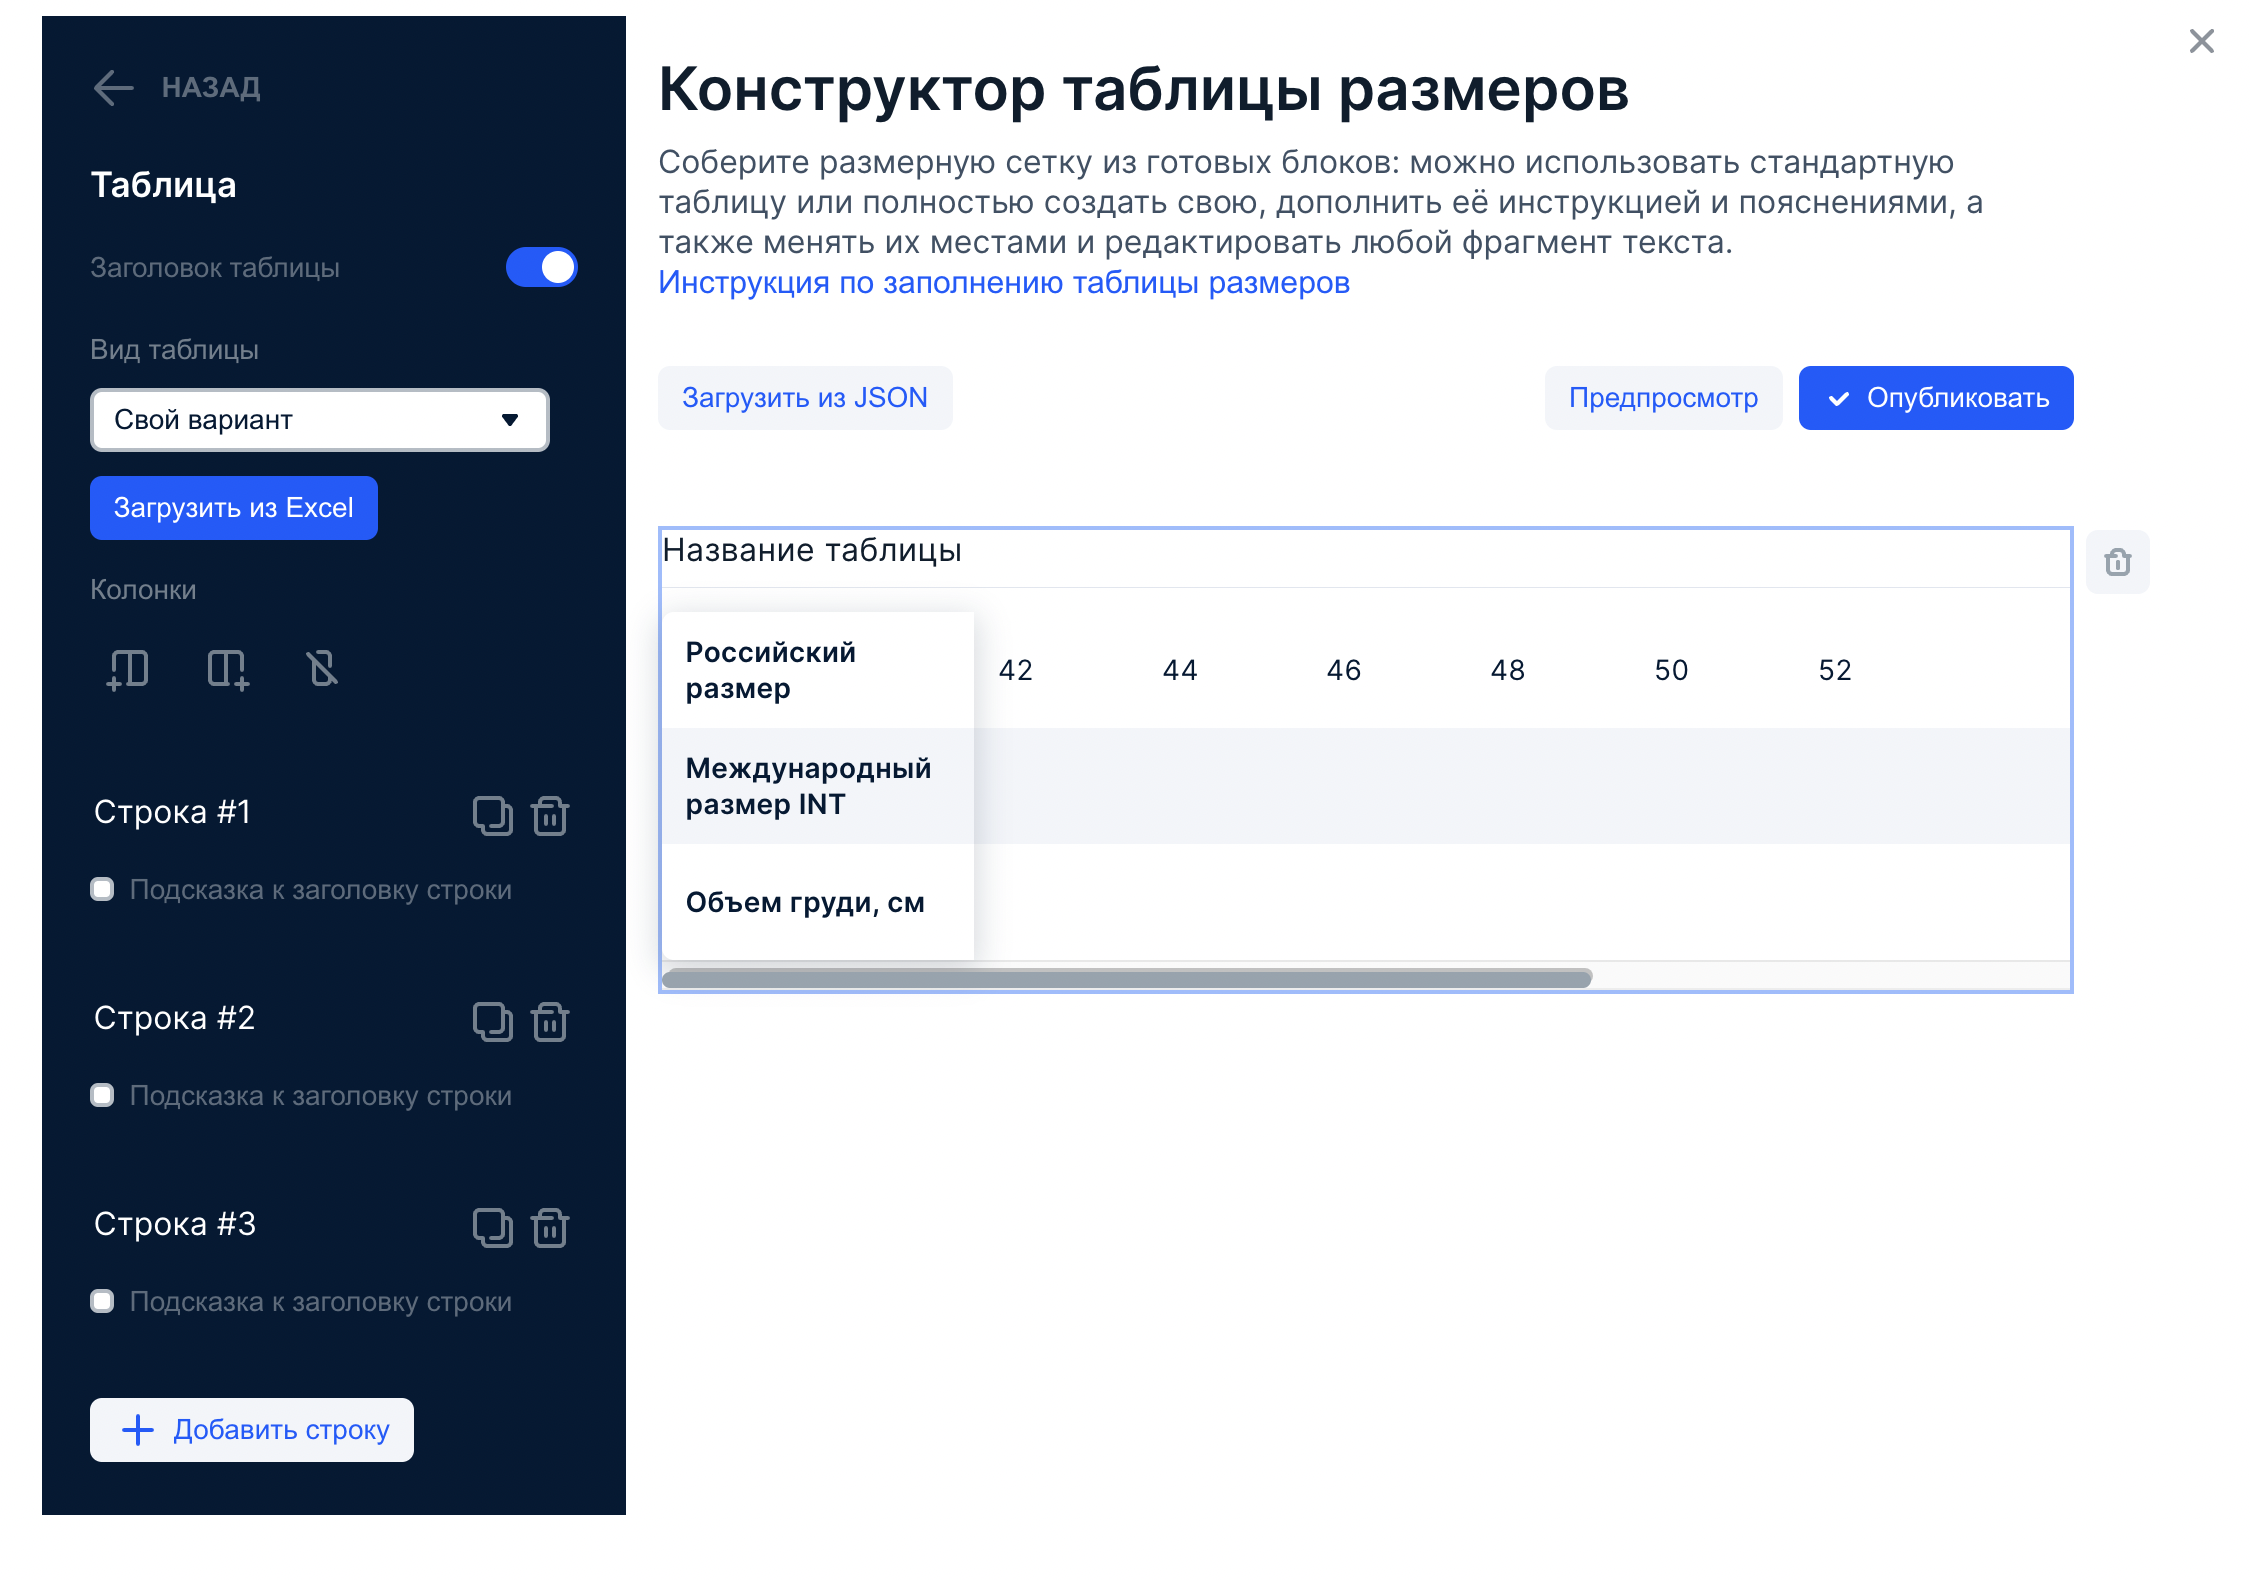
Table block settings #
This is the main block in the size table, so it will automatically appear in the workspace. To open the settings, click on any cell.
There are three ways to add content:
- Use a universal table type. We’ve prepared templates for different product types: from women’s clothing to children’s socks.
- Choose your own option. In this case you will be able to create a table from scratch.
- Upload from Excel. Download template and filling example.
You can manage the table contents, for example:
- Decide whether you need a header: there is a special switch.
- Edit text. To do this, click on the cell.
- Add and remove columns. To do this, select a column and select action.
- Make tips for parameters in the first column. To do this, check the box and write the text.
- Change the rows number. To delete a row, click
 , to make a new one–click Добавить строку (Add row).
Specify the parameters in the first column and the corresponding values in the neighboring columns. The column with the parameters will be fixed so that the customers always see it when scrolling.
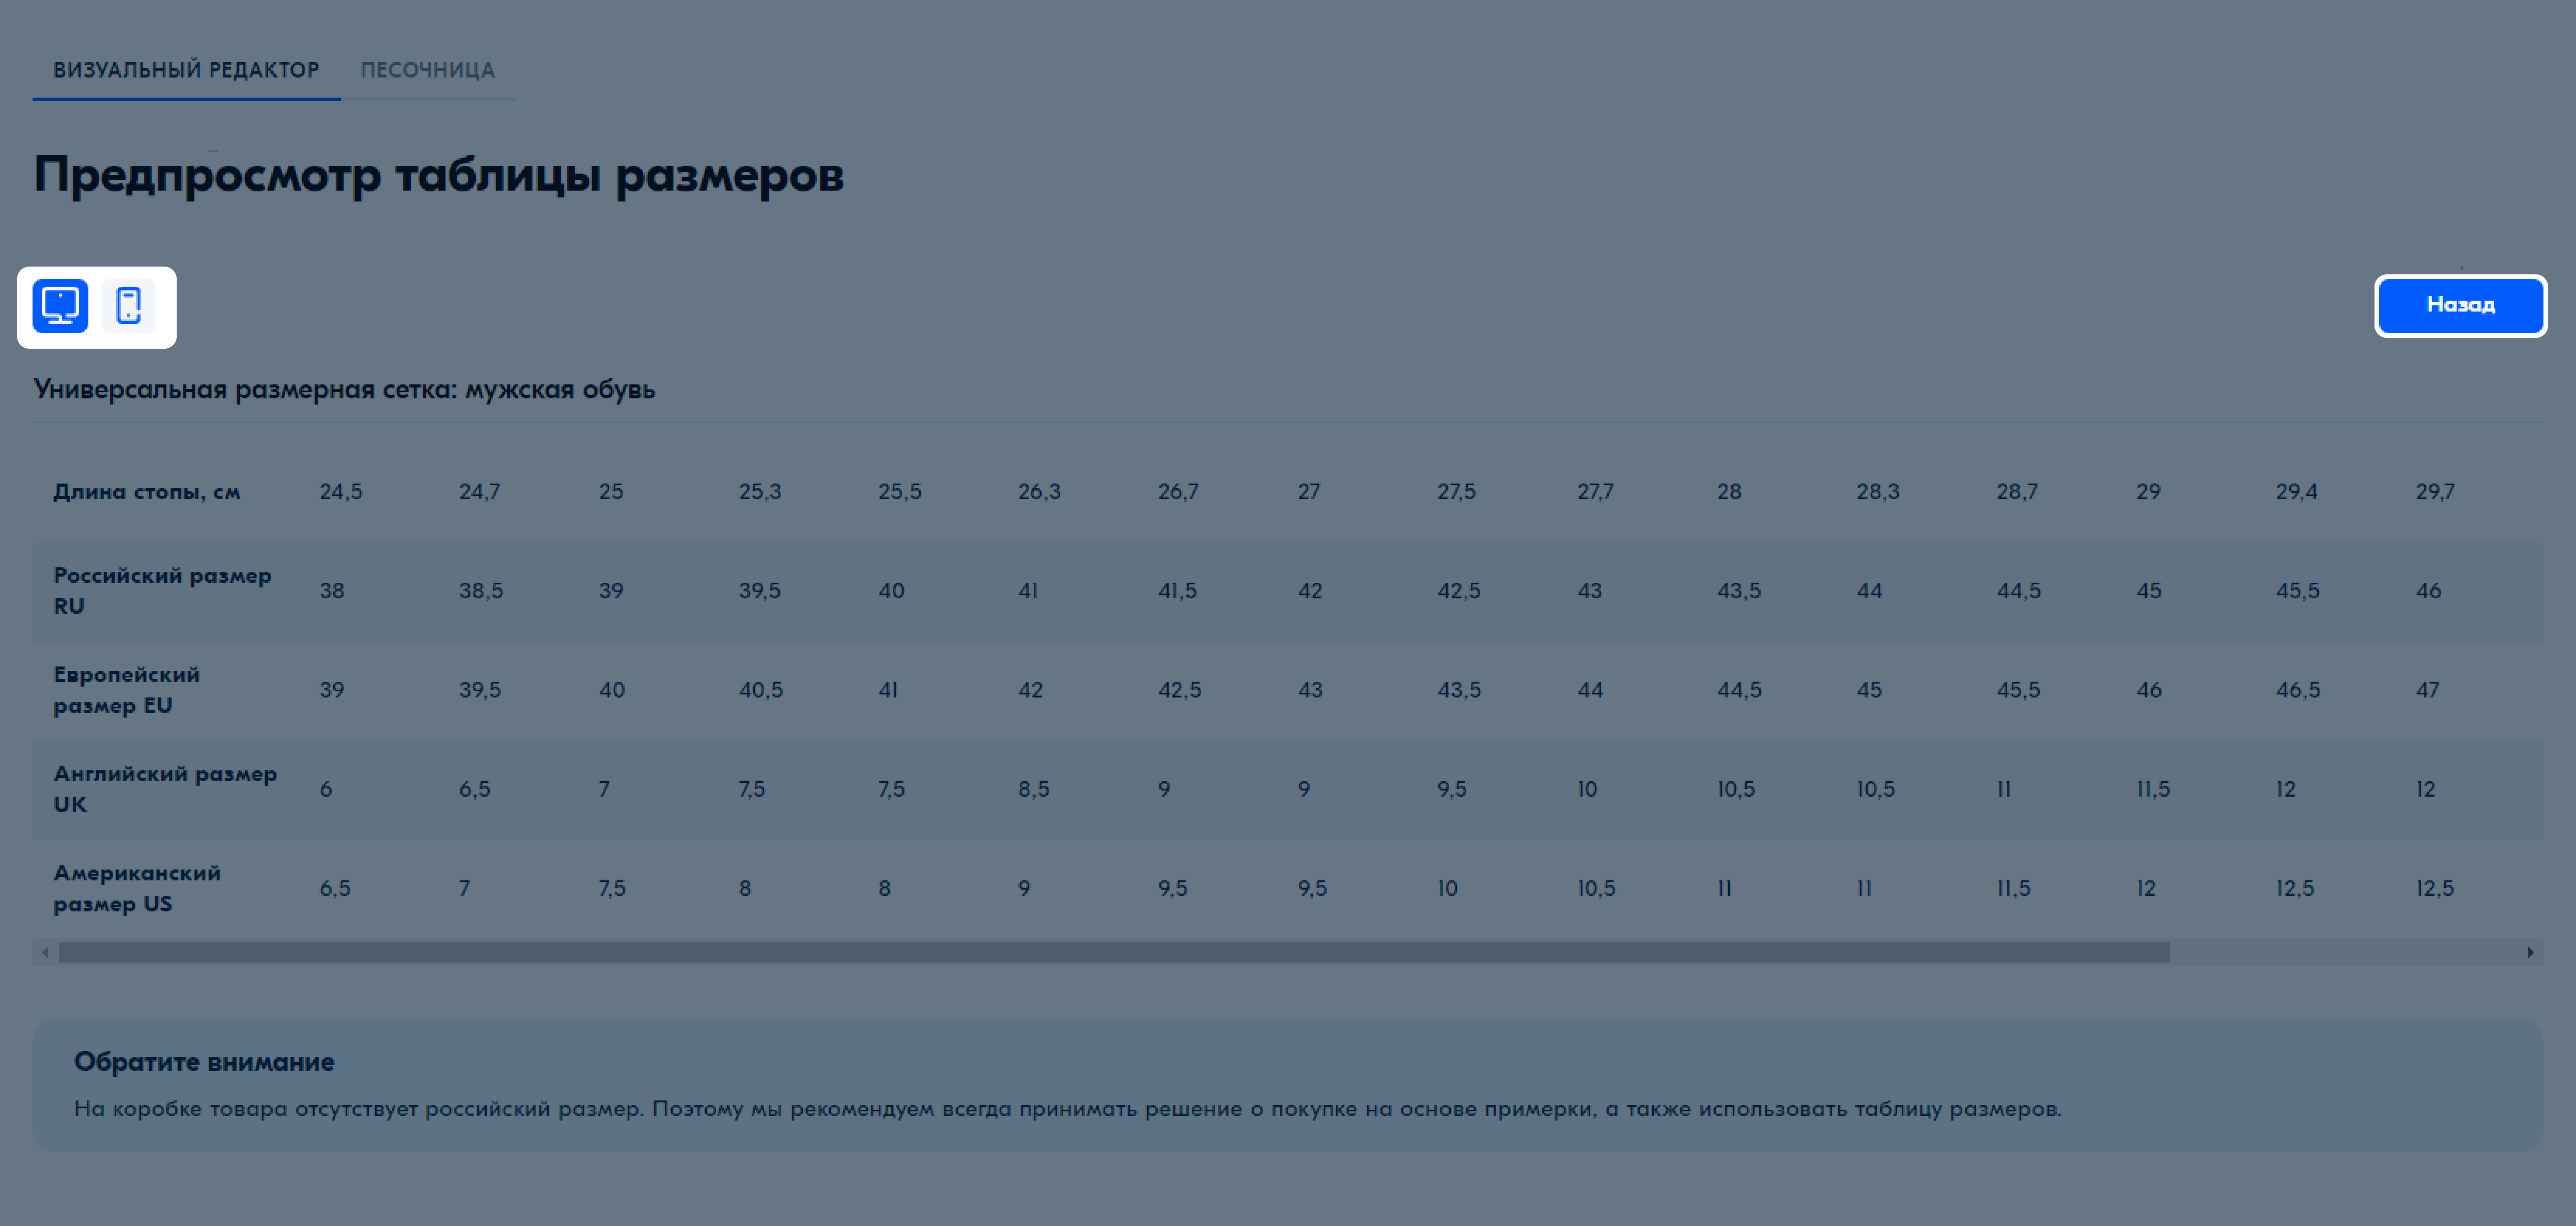
Step 3. Check the result #
To see how the finished size table will be displayed on the website, click Превью (Preview). You can switch the mode from computer to mobile.
Click Назад (Back) to return to editing.
Step 4. Add the table to the product description page #
If you create a new table, it will automatically replace the old one: you won’t be able to return it. In order not to lose the data, save the code in any text editor or copy the dimensions from the PDP on the site and add them to Excel.